Ice cream is one of life’s simple joys, but if you’re avoiding dairy or just want a lighter option, this oat milk ice cream recipe will blow you away. It’s creamy, dreamy, and completely plant-based. Whether you’re vegan, lactose-intolerant, or just curious about oat milk desserts, this recipe is proof that you don’t need heavy cream to enjoy indulgent ice cream.
The best part? You can make it at home with simple ingredients, no fancy equipment required.
Why oat milk is perfect for ice cream
Oat milk has become one of the fastest-growing dairy alternatives, with sales in the U.S. increasing by more than 300% over the past two years according to Forbes. And for good reason. Unlike almond or coconut milk, oat milk has a naturally creamy texture that makes it a superstar for desserts.
Here’s why it works so well in ice cream:
- Creaminess: Its starches mimic the mouthfeel of dairy cream.
- Neutral flavor: Lets your add-ins shine (vanilla, chocolate, berries, you name it).
- Vegan-friendly: 100% plant-based and allergy-friendly.
- Easy to find: Most grocery stores carry oat milk now.
Pro Tip: Use a barista-style oat milk if you can. It has a slightly higher fat content, which makes the ice cream even smoother.
Ingredients you’ll need
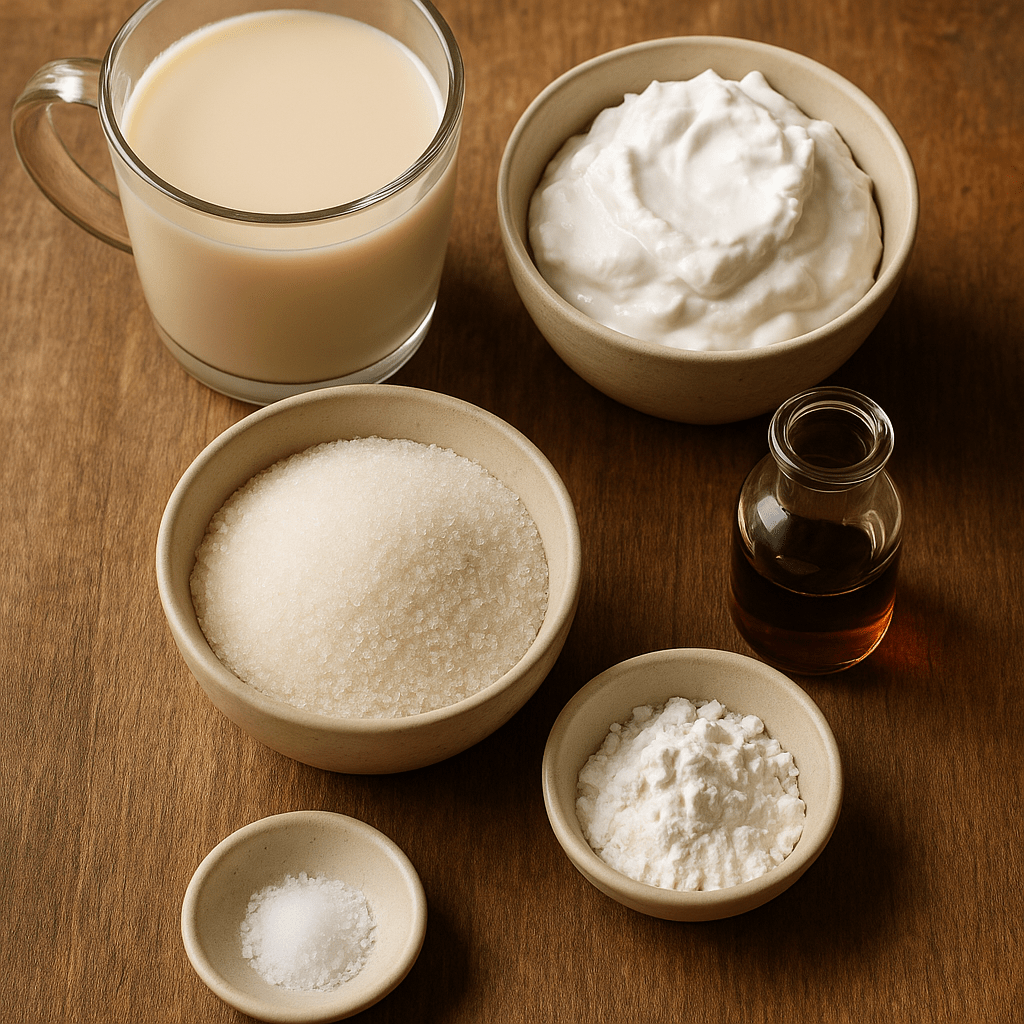
Making oat milk ice cream is surprisingly easy. Here’s the base recipe:
- 2 cups oat milk (preferably full-fat or barista edition)
- 1 cup coconut cream (for extra creaminess)
- ¾ cup sugar (or maple syrup for a natural option)
- 1 tablespoon cornstarch (thickens the base)
- 1 tablespoon vanilla extract
- Pinch of salt
Optional flavor boosters:
- ½ cup cocoa powder for chocolate
- 1 cup fresh strawberries or blueberries
- ½ cup peanut butter or cookie butter
- Crumbled cookies, chocolate chips, or nuts for mix-ins
Step-by-step instructions
Making this oat milk ice cream recipe is easy once you understand the process. Think of it as building layers of texture and flavor that transform simple ingredients into something rich and scoopable. Here’s how to do it:
Step 1: Make the base
Start by grabbing a medium-sized saucepan. Pour in the oat milk, coconut cream, sugar, and a pinch of salt. Place the pan over medium heat and whisk gently to combine everything.
As the mixture warms, continue stirring until the sugar fully dissolves. You don’t want it boiling, just gently steaming. Keeping the heat moderate prevents the milk from scalding and helps the sugar integrate smoothly.
Why this step matters: the base is the foundation of your ice cream. Dissolving the sugar and incorporating the fat from the coconut cream ensures that the final product tastes balanced and has that indulgent, creamy mouthfeel.
Pro Tip: Use a silicone whisk or wooden spoon to avoid scratching your saucepan while stirring.
Step 2: Thicken the mixture
While the base is heating, make a quick slurry. In a small bowl, mix 2 tablespoons of oat milk with the cornstarch until no lumps remain. Slowly pour this slurry into the saucepan, whisking constantly to avoid clumping.
Keep cooking the mixture for about 5 minutes. You’ll notice it thickens slightly and coats the back of a spoon. This is the key to preventing large ice crystals from forming once frozen. Without this step, you’d end up with a hard, icy texture rather than smooth, scoopable ice cream.
Pro Tip: Don’t skip this step. Cornstarch (or another thickener) is essential in plant-based ice cream because oat milk alone doesn’t have the same natural fat content as dairy cream.
Step 3: Add flavor
Remove the saucepan from the heat. Stir in your vanilla extract to create the classic vanilla flavor. At this point, you can also add extras to customize your ice cream:
- Chocolate: Whisk in ½ cup of cocoa powder.
- Berry swirl: Blend 1 cup of fresh or frozen berries into a puree and stir it in.
- Nut butter: Add ½ cup of peanut butter, almond butter, or cookie butter for richness.
- Coffee lover’s twist: Stir in 1 tablespoon of instant espresso powder.
This stage is where your creativity shines. The base is flexible, so don’t be afraid to experiment.
Pro Tip: If using cocoa powder or nut butters, whisk thoroughly until fully incorporated to avoid gritty or clumpy spots in your final ice cream.
Step 4: Chill the base
Once flavored, transfer the mixture into a heat-safe bowl. Cover it with plastic wrap or a silicone lid, pressing the wrap directly onto the surface of the liquid to prevent a skin from forming. Refrigerate for at least 3 hours, or ideally overnight, until completely chilled.
Why chilling matters: ice cream bases must be very cold before freezing. The colder the mixture, the quicker it will freeze, and the smaller the ice crystals will be. This step directly impacts how creamy your final ice cream will taste.
Pro Tip: If you’re short on time, place the bowl in an ice bath to cool it down faster before refrigerating.
Step 5: Freeze the ice cream
Now comes the fun part, turning your chilled base into ice cream.
- With an ice cream maker: Pour the mixture into your pre-chilled ice cream maker. Churn according to the manufacturer’s instructions, usually 20-30 minutes, until it reaches a soft-serve consistency. Transfer to a freezer-safe container to firm up for 2-3 hours.
- Without an ice cream maker: Pour the mixture into a freezer-safe container and place in the freezer. Every 30 minutes, remove it and stir vigorously with a fork or whisk. Repeat for 2-3 hours. This manual churning breaks up ice crystals and creates a smoother texture.
Pro Tip: If you plan on mixing in chunks (like chocolate chips, cookie dough, or nuts), add them during the last 5 minutes of churning or after the final stir. This keeps them evenly distributed.
Step 6: Serve and enjoy
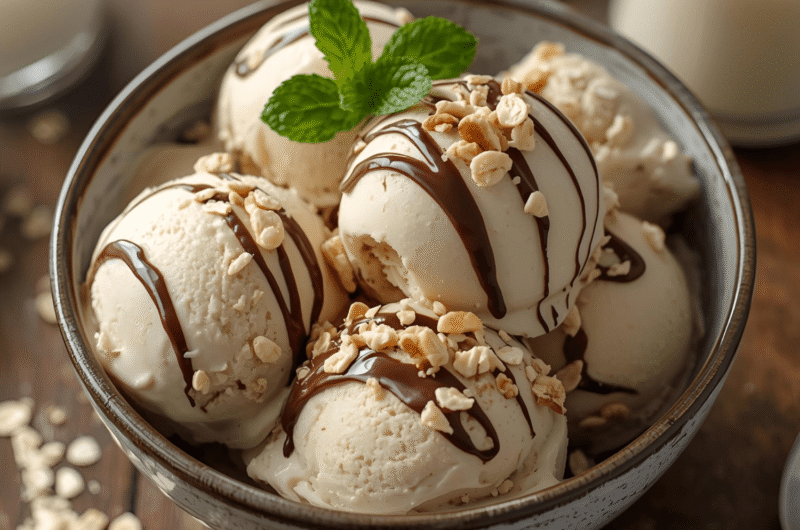
When your ice cream has firmed up, it’s ready to serve. Scoop into bowls or cones and top with your favorite extras. Think fresh fruit, chocolate drizzle, caramel sauce, or a sprinkle of sea salt.
If you’ve stored it in the freezer, let the container sit at room temperature for about 5 minutes before scooping. Plant-based ice creams freeze more solidly than dairy versions, so this quick softening makes serving easier.
Pro Tip: For a gourmet touch, drizzle melted chocolate over the scooped ice cream. The cold temperature will harden the chocolate instantly, creating a delightful crackly shell.
Flavor variations to try
One of the best things about this recipe is how versatile it is. Try these fun twists:
- Chocolate chip cookie dough: Stir in vegan cookie dough bites before freezing.
- Strawberries and cream: Swirl in a homemade strawberry puree.
- Mocha magic: Add 1 tablespoon instant espresso and ½ cup cocoa powder.
- Salted caramel: Drizzle in vegan caramel sauce and sprinkle with sea salt.
- Mint chocolate: Add peppermint extract and fold in chocolate chunks.
Nutrition facts (per serving, based on 6 servings)
- Calories: ~250
- Fat: 12g
- Carbohydrates: 32g
- Sugar: 24g
- Protein: 2g
This makes oat milk ice cream a lighter, healthier option compared to traditional heavy cream versions that can reach 400+ calories per serving.
Why make oat milk ice cream at home
Store-bought dairy-free ice cream can cost $6 to $8 per pint, and often comes with additives or stabilizers. Making it yourself saves money and lets you control the sweetness and flavors.
Plus, homemade ice cream means you can experiment endlessly with creative mix-ins that brands might never offer.
Storing and serving tips
- Storage: Keep in an airtight container for up to 2 weeks.
- Texture tip: Cover the surface with parchment paper before sealing the lid to prevent freezer burn.
- Serving: Always let it soften a few minutes before scooping for the perfect creamy texture.
Pro Tip: Freeze your storage container ahead of time. This keeps the ice cream colder for longer when transferring from the churner.
Why oat milk ice cream is trending
Searches for “oat milk ice cream” have skyrocketed by more than 120% in the past year, especially on platforms like TikTok and Pinterest. Younger audiences are craving plant-based comfort foods that don’t compromise on indulgence.
In fact, oat milk is now the second most popular plant milk in the U.S., trailing only almond. That means recipes like this not only taste amazing but also align with a growing food trend.
FAQs
Yes, but store-bought works better. Homemade oat milk can get slimy when heated, which may affect texture.
It’s recommended because it adds richness. But you can substitute with cashew cream or extra oat milk for a lighter version.
If using an ice cream maker, it takes about 30 minutes. Without one, plan on at least 3-4 hours.
Yes. Swap sugar with maple syrup, agave, or a sugar-free sweetener like stevia. Just keep in mind that sugar helps with creaminess, so texture may change slightly.
Surprisingly, no! Oat milk has a mild flavor, so the ice cream tastes mostly like your add-ins (vanilla, chocolate, fruit, etc.).
Final thoughts
This oat milk ice cream recipe proves that dairy-free desserts can be just as indulgent as the classic versions. It’s creamy, customizable, and simple enough for anyone to make at home.
Whether you’re hosting friends, looking for a healthier sweet treat, or just want to try something new, this recipe will quickly become a go-to in your kitchen.
So grab your favorite toppings, chill your oat milk base, and whip up a pint of homemade goodness today.
1
serving15
minutes3
hours250
kcalA creamy, dairy-free ice cream made with oat milk and coconut cream. Smooth, light, and fully customizable with your favorite flavors and toppings.
Ingredients
½ cup oat milk (preferably barista edition for creaminess)
¼ cup coconut cream
3 tablespoons sugar (or maple syrup for natural sweetness)
¾ teaspoon cornstarch
¼ teaspoon vanilla extract
Pinch of salt
Directions
- Make the base: In a small saucepan, whisk together oat milk, coconut cream, sugar, and salt. Warm gently over medium heat until the sugar dissolves.
- Thicken: In a separate bowl, mix cornstarch with 1 teaspoon oat milk to form a slurry. Add to the saucepan and whisk until slightly thickened, about 5 minutes.
- Add flavor: Remove from heat and stir in vanilla extract (or cocoa powder, fruit puree, or nut butter for flavor variations).
- Chill: Transfer mixture to a bowl, cover, and refrigerate for at least 3 hours until fully chilled.
- Freeze:
With ice cream maker: churn 20–25 minutes until creamy.
Without ice cream maker: freeze in a container, stirring every 30 minutes for 2–3 hours to break up ice crystals. - Serve: Scoop into a bowl or cone. Add toppings like oats, nuts, chocolate drizzle, or fresh fruit. Let soften 5 minutes at room temperature before scooping if frozen solid.