Seasoning your Blackstone griddle for the first time is not just a setup step, it is what turns a flat piece of steel into a non-stick, flavor-boosting cooking surface that lasts for years. If you skip this step or rush it, food sticks, rust appears, and the whole experience feels frustrating instead of fun.
The good news is that seasoning a Blackstone is simple, satisfying, and honestly kind of therapeutic. Once you know what you are doing, it takes about 45–60 minutes and sets you up for perfect breakfasts, stir-fries, smash burgers, and late-night tacos all summer long.
This guide walks you through exactly how to season a Blackstone griddle for the first time, why each step matters, and how to avoid the most common beginner mistakes.
Why seasoning your Blackstone griddle matters
Seasoning is the process of bonding oil to the steel surface through heat. This creates a protective polymerized layer that transforms how your griddle performs.
A properly seasoned Blackstone:
- Prevents rust and corrosion
- Creates a natural non-stick surface
- Improves flavor over time
- Makes cleanup dramatically easier
Cookware experts estimate that seasoned steel surfaces reduce sticking by up to 80 percent compared to raw steel. That difference is obvious from your very first cook.
Without seasoning, moisture in the air can cause surface rust in as little as 24–48 hours, especially if you live in a humid climate. Seasoning is not optional. It is essential.
What you need before you start
Before firing up your griddle, gather everything first. Once the surface is hot, you will not want to scramble for supplies.
Supplies checklist
- Paper towels or lint-free cloths
- High smoke point oil
- Tongs (optional but helpful)
- Heat-resistant gloves (recommended)
That is it. No soap. No sprays. No fancy tools.
Best oil to season a Blackstone griddle
The oil you choose plays a big role in how well your seasoning turns out. You want an oil with a high smoke point so it can properly bond to the steel instead of burning unevenly.
Best oils for first-time seasoning
- Avocado oil
- Canola oil
- Grapeseed oil
- Flaxseed oil
Avocado oil is one of the most popular options because it has a smoke point of around 520°F, making it ideal for high-heat Blackstone griddles.
Avoid olive oil and butter. They burn too quickly and can leave sticky residue instead of a smooth seasoning layer.
Pro Tip: If you are unsure which oil to choose, go with avocado oil. It is forgiving, consistent, and beginner-friendly.
How to season a Blackstone griddle for the first time step by step
Follow these steps carefully for a strong, even seasoning layer that improves with every cook and protects your griddle long term. Take your time here, this initial seasoning sets the tone for how your Blackstone performs.
Step 1 – Wash off the factory coating
New Blackstone griddles come with a thin protective coating applied during manufacturing and shipping to prevent rust.
Use warm water only and wipe the entire surface thoroughly, including the corners and edges. Do not use soap unless specifically instructed by the manufacturer. Dry the griddle completely with paper towels.
Any leftover moisture can interfere with the seasoning process and cause uneven bonding.
Step 2 – Heat the griddle until it stops smoking
Turn all burners on high and allow the griddle to heat up fully.
You will notice light smoke at first, and the steel will begin to change color and darken slightly. This is completely normal and means the surface is heating evenly.
Let it heat until:
- Smoke slows down significantly
- The surface looks darker and more uniform overall
This usually takes 10–15 minutes, depending on outdoor temperature and wind.
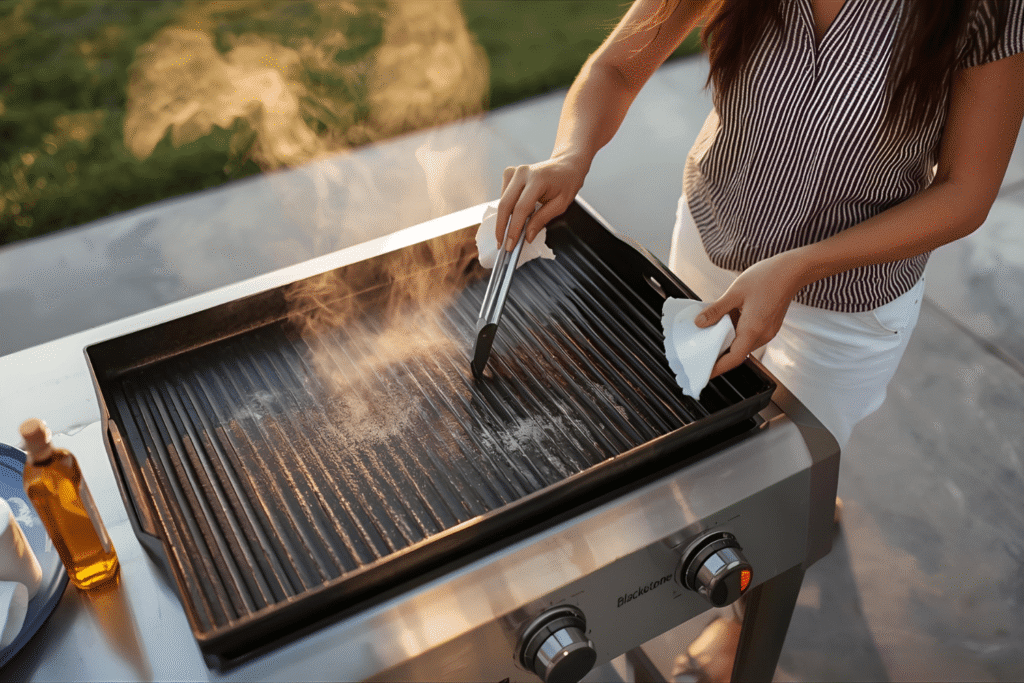
Step 3 – Apply a thin layer of oil
This is the most common beginner mistake, and it is where less truly is more.
Pour a small amount of oil onto the hot surface and spread it evenly using paper towels. Make sure to cover the entire cooking area, including the edges. Wipe away excess oil until the surface looks almost dry.
The griddle should appear lightly glossy, not wet or greasy.
Step 4 – Let the oil smoke and bond
Keep the burners on high and let the oil do its work.
The oil will smoke heavily at first as it heats, then gradually stop smoking. Once the smoke disappears, the oil has polymerized and bonded to the steel, forming a protective layer.
This step takes about 10 minutes per layer and is essential for building a durable seasoning.
Step 5 – Repeat the process 3–5 times
Multiple thin layers are key for first-time seasoning.
Repeat the process by:
- Applying a thin layer of oil
- Spreading it evenly and wiping off excess
- Heating until the smoke disappears
Most Blackstone experts recommend at least four layers for a brand-new griddle. Each layer strengthens the seasoning and improves non-stick performance over time.
Step 6 – Final cool down
After the final layer, turn off the burners and allow the griddle to cool naturally. Do not wipe it down or add water while it cools, as this can disrupt the seasoning.
Once cooled, the surface should be:
- Dark brown to black
- Smooth to the touch
- Slightly glossy
Your Blackstone griddle is now properly seasoned and ready to cook on.
What to cook first on your newly seasoned Blackstone
Once your Blackstone is seasoned, your first cook helps reinforce the seasoning even more. Foods with a little natural fat are ideal because they continue building the protective layer while you cook.
Great first-cook options include onions, smash burgers, bacon, or fajita veggies. These foods release oils as they cook, helping fill in any lighter spots on the surface. Avoid delicate foods like eggs or fish for the very first cook, as the seasoning is still developing.
Cooking right away is one of the fastest ways to deepen your seasoning and improve non-stick performance.
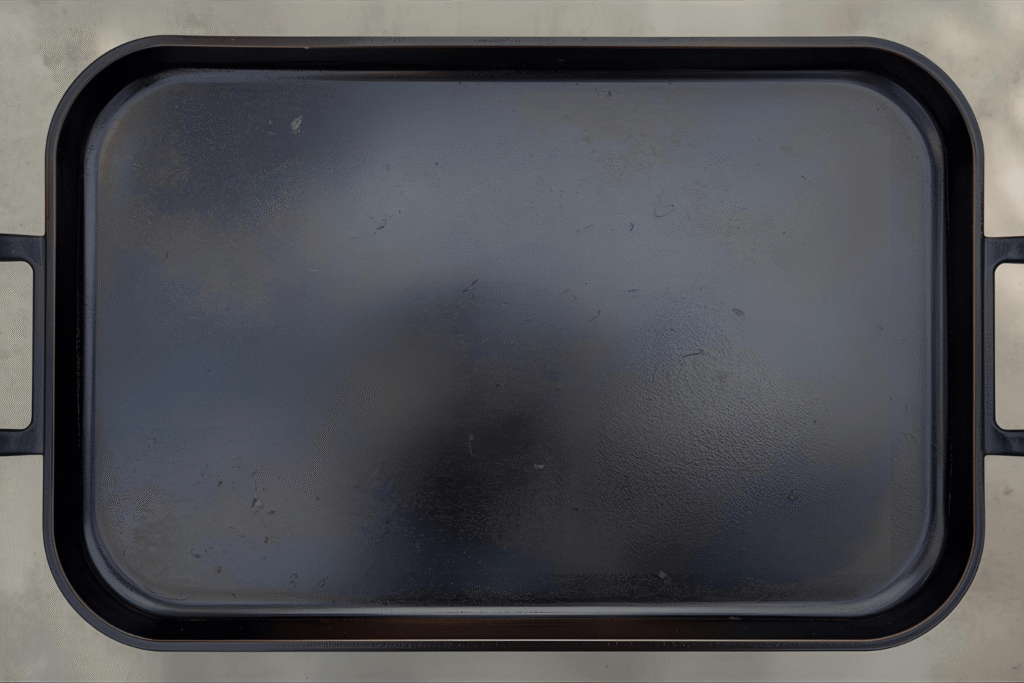
What your Blackstone should look like after seasoning
Do not expect perfection on day one.
A freshly seasoned Blackstone often looks:
- Patchy in places
- Darker in the center
- Lighter around the edges
This is completely normal. The seasoning evens out naturally over time. After 10–15 cooks, most griddles develop a deep, uniform black surface.
Common first-time seasoning mistakes to avoid
Small mistakes can impact your results, but they are easy to avoid.
Using too much oil
Excess oil creates sticky spots instead of smooth layers.
Not letting the oil fully smoke off
If the oil does not finish smoking, it has not bonded to the steel.
Seasoning at low heat
Seasoning requires high heat. Medium is not enough.
Skipping layers
One layer is not sufficient for first-time seasoning.
Pro Tip: If your griddle feels sticky, reheat it on high until the stickiness disappears. This usually fixes the issue.
How often should you re-season a Blackstone griddle
The first seasoning is the most important. After that, maintenance is simple.
You should re-season:
- If food starts sticking
- If rust appears
- After deep cleaning
- At the beginning and end of grilling season
Light oiling after each cook helps maintain the seasoning and builds it naturally.
How to maintain your seasoning after cooking
Good habits keep your griddle performing like new.
After every cook
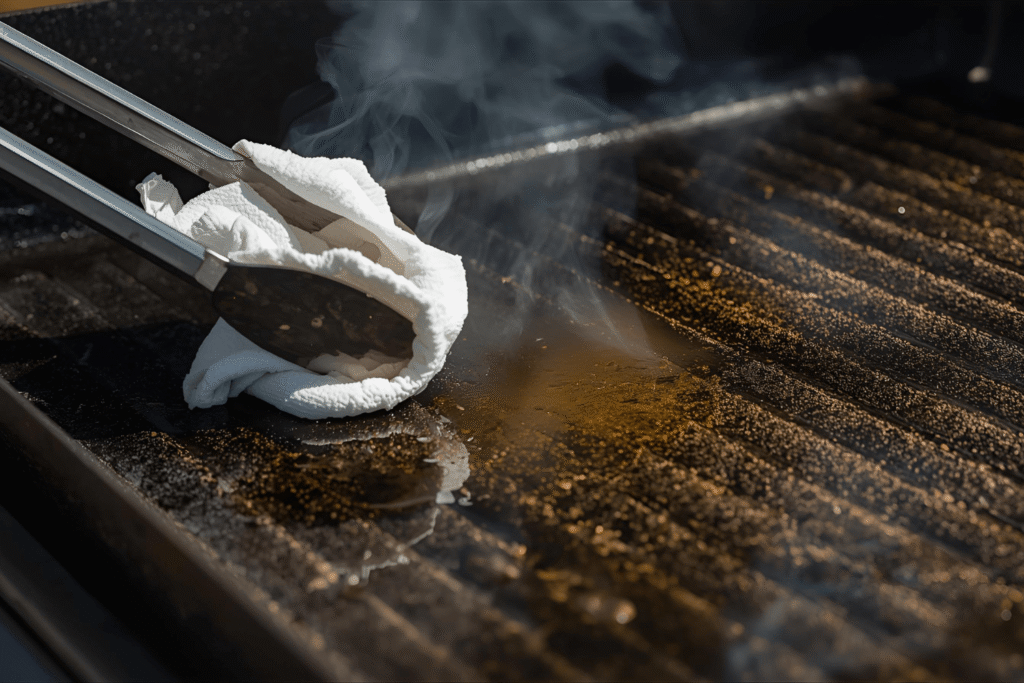
- Scrape off food residue while the griddle is still warm
- Wipe clean with paper towels
- Apply a very thin layer of oil
This takes less than two minutes and dramatically extends the life of your seasoning.
Does seasoning improve flavor
Yes, and the difference is noticeable.
Seasoned steel improves browning, heat retention, and flavor development. This is why smash burgers, pancakes, and stir-fry taste better on a seasoned Blackstone than on a non-stick pan.
Flavor improves over time, similar to cast iron.
FAQs
Most first-time seasonings take 45–60 minutes from start to finish.
Yes, but bacon grease is better for maintenance than first-time seasoning. It contains impurities that can create uneven layers early on.
This is normal. The black color develops gradually with repeated cooking and seasoning.
It is very difficult to permanently damage a Blackstone. Most issues can be fixed by reheating and applying thin oil layers correctly.
Yes. Lightly oil the sides and edges to prevent rust.
Final thoughts on seasoning your Blackstone griddle
Seasoning your Blackstone griddle for the first time sets the foundation for everything that follows. It creates a non-stick surface, protects the steel from rust, and makes cooking more enjoyable from day one.
Do not worry if your griddle does not look perfect right away. Uneven color and patchy areas are normal and improve naturally with regular use. Focus on thin oil layers, high heat, and consistency rather than chasing a flawless finish.
Once seasoned, regular cooking and light oiling are all it takes to maintain your griddle. The more you use it, the better it performs, turning every meal into an easy, satisfying experience.