Freeze dried candy is having a serious moment right now. TikTok videos rack up millions of views showing Skittles puffing into crunchy clouds and gummy bears transforming into light, airy candy explosions. It’s oddly satisfying, wildly addictive, and surprisingly easy to do once you understand the process.
If you’ve ever wondered how to freeze dry candy at home, this guide walks you through everything, from equipment options and step-by-step instructions to the best candies to try, storage tips, and common mistakes to avoid.
Whether you want a fun weekend project, unique homemade gifts, or a potential side hustle idea, freeze drying candy checks a lot of boxes.
Let’s get into it.
What freeze drying actually does to candy
Freeze drying removes moisture from food by freezing it solid and then pulling the water out using low pressure and gentle heat. This process is called sublimation, where ice turns directly into vapor without becoming liquid first.
Why that matters for candy:
- Texture transforms completely. Gummies become crunchy and airy. Chocolates turn melt-in-your-mouth brittle. Hard candy becomes lighter and louder when you bite.
- Flavor gets concentrated. With water removed, sweetness and fruity flavors intensify.
- Shelf life skyrockets. Properly stored freeze dried candy can last months or even years.
According to food preservation research, freeze dried foods retain up to 97% of their nutritional value compared to other drying methods, which explains why this process is widely used for astronaut food and emergency storage.
While candy isn’t exactly a health food, the same preservation advantages apply.
Can you really freeze dry candy at home?
Short answer is yes, absolutely.
Long answer, it depends on what equipment you use and how much you want to invest.
You have two realistic options:
- A home freeze dryer (best results, higher cost)
- A freezer + dry ice method (budget-friendly experiment)
Let’s break both down so you can choose what fits your budget and goals.
Option 1 – Using a home freeze dryer (best results)
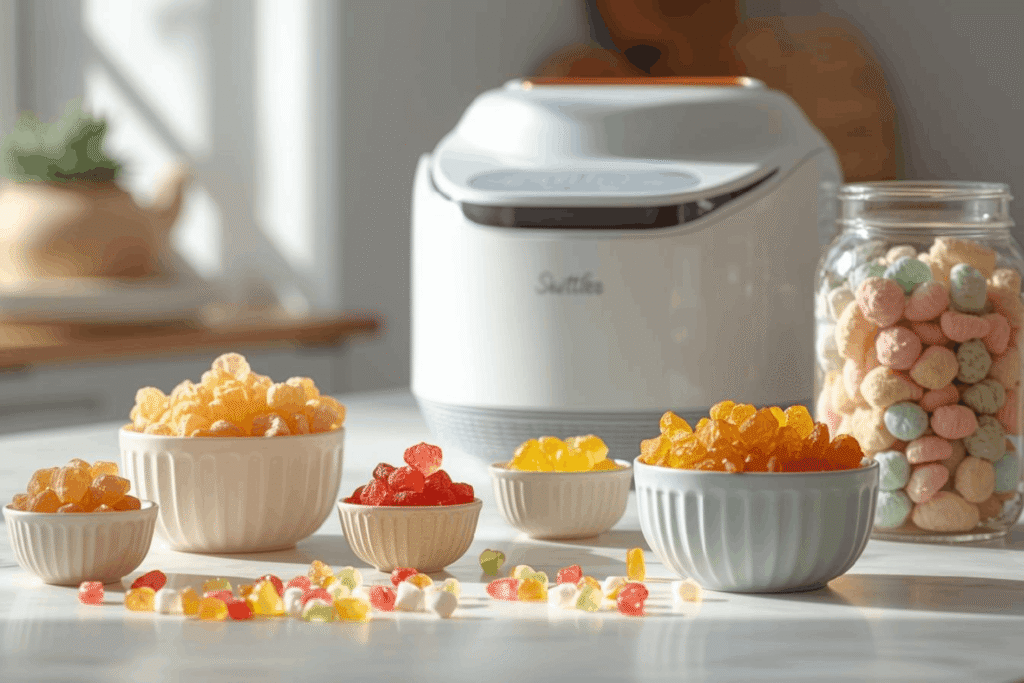
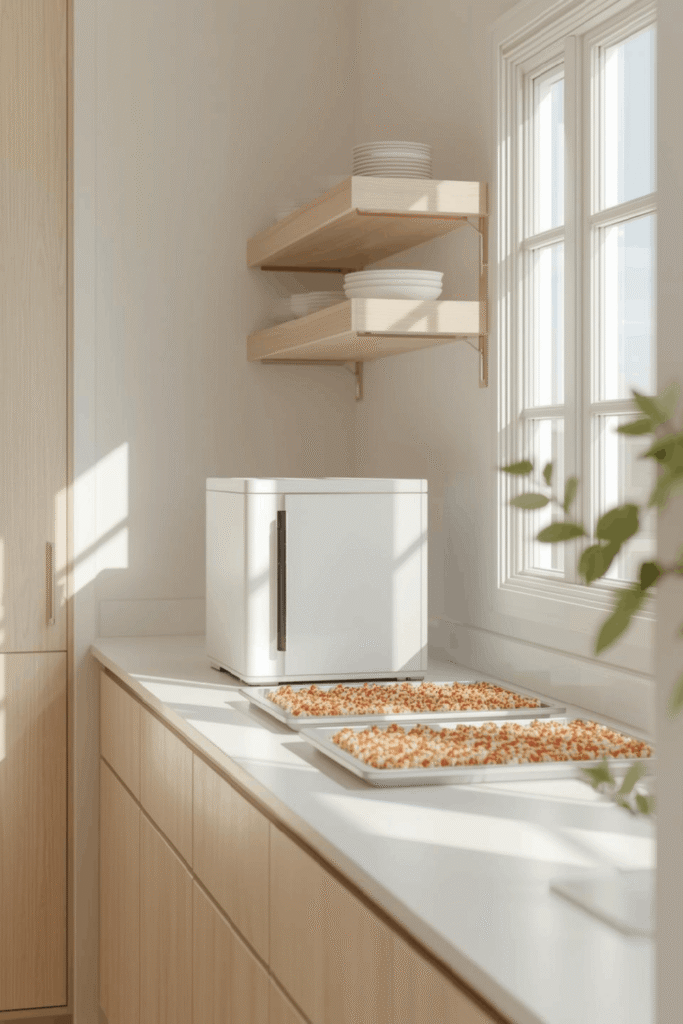
A countertop freeze dryer gives you professional-level results with minimal trial and error. Brands like Harvest Right dominate the home market and are commonly used by small candy businesses.
What you’ll need
- Home freeze dryer
- Candy of choice
- Baking trays or freeze dryer trays
- Airtight storage containers or Mylar bags
Step-by-step process
Step 1 – Prep your candy
Spread candy in a single layer on trays. Avoid stacking or overcrowding.
Helpful prep tips:
- Cut large candies in half (gummy worms, taffy, marshmallows).
- Separate sticky candies so they don’t fuse together.
- Leave space for expansion. Gummies can puff up 2–3x their size.
Step 2 – Pre-freeze (optional but recommended)
Pre-freezing your trays in a regular freezer speeds up the overall cycle and improves consistency.
Pre-freeze for at least 2–4 hours if you can.
Step 3 – Load the freeze dryer
Slide trays into the freeze dryer and start the cycle. Most candy takes 18–36 hours depending on moisture content and machine size.
Step 4 – Check for dryness
Candy should be:
- Completely dry
- Crisp and airy
- No cold spots in the center
If anything feels chewy or cool inside, add extra dry time.
Step 5 – Store immediately
Exposure to humidity will soften candy fast. Transfer into airtight containers or vacuum-sealed bags right away.
Pro Tip: Add food-safe desiccant packs inside containers to keep moisture out long-term.
Option 2 – DIY freezer method (budget experiment)
If you’re not ready to invest in a freeze dryer, you can experiment using dry ice and a deep freezer. Results won’t be identical, but it’s a fun way to test the concept.
What you’ll need
- Dry ice
- Insulated cooler
- Candy
- Paper towels
- Ventilated lid (never seal airtight with dry ice)
How it works
- Line cooler with paper towels.
- Place candy on top in a single layer.
- Add dry ice underneath or around trays (not touching candy directly).
- Leave lid slightly open for gas release.
- Let sit for 24–48 hours.
Important safety notes:
- Always handle dry ice with gloves.
- Use in well-ventilated spaces.
- Never seal dry ice in airtight containers.
This method is great for experimenting but not ideal for consistent production or long-term storage.
Best candy to freeze dry at home

Some candies respond better than others. Start with these crowd favorites.
Gummies (best beginner option)
- Gummy bears
- Peach rings
- Sour worms
- Fruit snacks
Why they work:
- High moisture content creates dramatic puffing.
- Crunchy outside, airy inside.
- Huge flavor boost.
Marshmallows
- Mini marshmallows
- Flavored marshmallows
They become ultra-light and melt instantly in your mouth.
Skittles and fruit chews
- Skittles crack open into crunchy candy shells.
- Starburst puffs slightly and intensifies flavor.
Chocolate-based candy (advanced)
- Chocolate-covered strawberries
- Chocolate wafers
- Filled chocolates
Chocolate requires careful temperature control to avoid melting or fat separation.
Pro Tip: Avoid caramel-heavy candies at first. They tend to melt, collapse, or remain sticky after drying.
How long does freeze drying candy take?
Most candy batches take:
- 18–24 hours for gummies and marshmallows
- 24–36 hours for dense or sugar-heavy candy
Factors that affect time:
- Candy thickness
- Sugar content
- Tray spacing
- Machine size
- Pre-freezing
If you’re batch producing, keeping consistent tray layouts helps reduce variability.
How to store freeze dried candy properly
Storage is just as important as the drying process.
Best storage options
- Airtight glass jars
- Mylar bags with oxygen absorbers
- Vacuum-sealed bags
Storage tips
- Store in cool, dark places.
- Avoid humidity exposure.
- Label batches with date and candy type.
Properly stored freeze dried candy can last 6–24 months without noticeable texture loss.
If candy softens, it has absorbed moisture and should be re-dried or consumed quickly.
Common mistakes to avoid
Even beginners can get great results if you avoid these pitfalls.
Overcrowding trays
Crowded trays prevent airflow and lead to uneven drying.
Skipping dryness checks
Candy that feels dry on the outside can still hold moisture inside.
Always break a piece in half and check the center.
Leaving candy exposed after drying
Humidity can soften candy within minutes.
Prep containers before the cycle finishes.
Using oily or filled candy too early
Start simple before experimenting with chocolate centers or caramel fillings.
Is freeze drying candy worth the cost?
A home freeze dryer can cost anywhere from $2,000–$4,000 upfront. That sounds steep, but many people offset the cost by:
- Making gifts for holidays and events
- Selling locally at markets or online
- Creating unique party favors
- Running small Etsy shops
Freeze dried candy often sells for 3–5x the price of regular candy due to novelty and shelf life.
If you enjoy food projects, small business ideas, or viral product trends, this can become more than just a hobby.
Creative ways to use freeze dried candy
Freeze dried candy isn’t just for snacking.
Fun ideas:
- Cupcake toppers
- Ice cream mix-ins
- Party candy boards
- Gift jars with ribbon labels
- Wedding favors
- Movie night snack mixes
Because the candy is lightweight and colorful, it photographs beautifully for Pinterest and social media content too.
Pro tips for better results
Pro Tip: Keep a small notebook tracking candy type, batch time, and results. You’ll quickly learn what works best for your machine.
Pro Tip: Run gummy candy on parchment paper if sugar starts sticking to trays.
Pro Tip: Slightly warm storage containers before sealing to prevent condensation forming inside.
Pro Tip: Mix candy varieties on separate trays, not the same tray. Different moisture levels dry at different speeds.
FAQs
You can use dry ice in a ventilated cooler setup to simulate sublimation. Results won’t be as consistent as a real freeze dryer, but it allows experimentation on a budget.
Gummies, marshmallows, Skittles, and fruit chews give the best texture transformation and flavor intensity for beginners.
Properly stored in airtight containers with moisture protection, freeze dried candy can last 6–24 months.
Yes. Flavors become more concentrated because water is removed, making candy taste sweeter and more intense.
Yes, when prepared properly using food-safe equipment and stored correctly. Always follow equipment safety guidelines.
Food regulations vary by location. Many areas require cottage food permits, labeling rules, and kitchen inspections. Always check local regulations before selling.
Sticky candy means moisture re-entered the product or it was under-dried. Re-run the batch if possible and improve storage sealing.
Final thoughts
Learning how to freeze dry candy at home opens the door to a fun, creative hobby that blends science, snacks, and a little bit of magic. Whether you’re experimenting for fun, making gifts, or exploring a small side hustle idea, the process is surprisingly approachable once you understand the basics.
Start with simple gummies, take notes on your batches, and don’t be afraid to experiment. Watching candy transform into crunchy, airy treats never really gets old.