If you have more fresh tomatoes than you know what to do with, this is your sign to turn them into salsa that lasts all year.
Learning how to can salsa with fresh tomatoes lets you lock in peak-season flavor, save money, and always have a jar ready for taco night, last-minute guests, or midnight chip cravings.
And yes, you can do this at home without fancy equipment or scary science vibes.
Home canning might sound intense, but once you understand the basics, it becomes a very repeatable kitchen routine.
Plus, according to the USDA, properly canned high-acid foods like salsa can stay shelf-stable for up to 18 months when stored correctly. That is a lot of future snacks from one afternoon of chopping.
Why canning salsa is worth the effort
Fresh salsa tastes amazing, but it only lasts a few days in the fridge.
Canned salsa gives you:
- Long shelf life without preservatives
- Control over heat, salt, and sugar
- Big savings when tomatoes are in season
- Zero last-minute store runs when cravings hit
Store-bought salsa often contains stabilizers and more sodium than you would ever add at home.
When you can it yourself, you choose what goes in your jar.
And if you garden or buy bulk produce, canning helps prevent waste. Studies estimate that 30 to 40% of household food ends up discarded, mostly from spoilage.
Canning turns that extra produce into future meals instead of compost.
What you need before you start
Before we get into the steps, let’s make sure you are set up for success.
Canning is safe and simple when you follow tested guidelines.
Equipment
- Large stockpot or water bath canner
- Canning jars with new lids and bands
- Jar lifter and funnel (very helpful)
- Large pot for cooking salsa
- Clean towels
You do not need a pressure canner for salsa because salsa is high-acid when made correctly.
Water bath canning is all you need.
Ingredients
This recipe is based on safe acid levels for canning.
- 10 cups chopped fresh tomatoes (peeled and drained)
- 5 cups chopped onions
- 2.5 cups chopped bell peppers and/or jalapeños
- 1.25 cups bottled lime juice or vinegar (5% acidity)
- Garlic, salt, cumin, and optional sugar to taste
Do not reduce the acid in canning recipes. Acid keeps bacteria like botulism from growing.
Pro Tip: Always use bottled lime juice for canning. Fresh limes vary in acidity and are not reliable for safety.
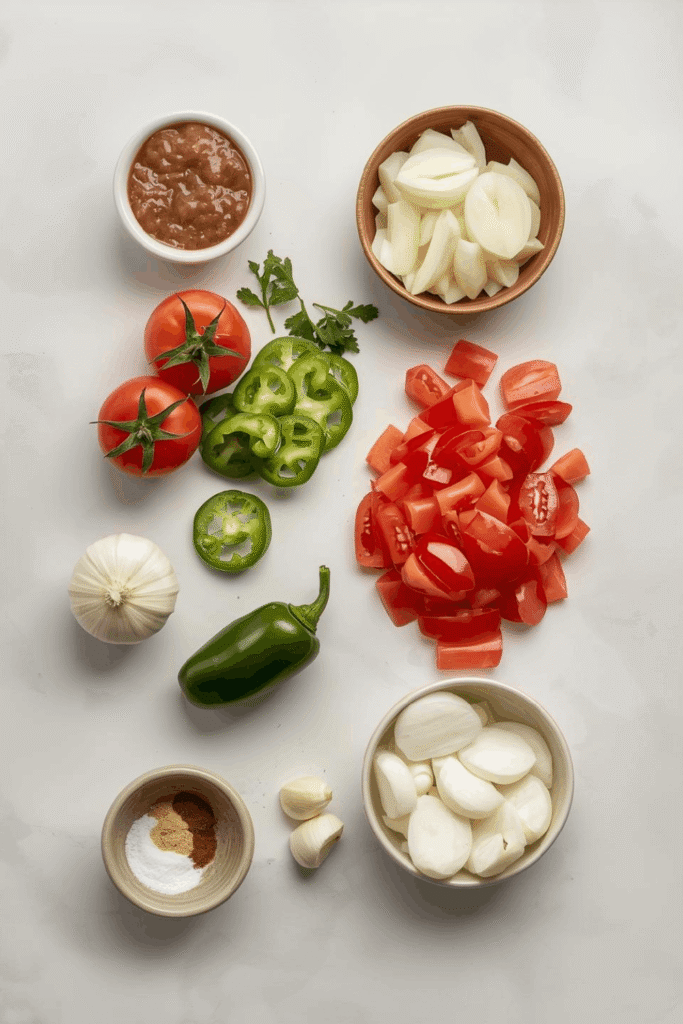
Choosing the best tomatoes for canning salsa
Not all tomatoes are created equal when it comes to salsa.
For thicker, less watery salsa, choose paste-style tomatoes like:
- Roma
- San Marzano
- Amish Paste
They have more flesh and less juice, which means better texture and less cooking time.
If you use juicy slicing tomatoes, you will need to drain them well to avoid watery salsa.
How much salsa does this make
Roughly 4 to 5 pint jars depending on how thick you like your salsa.
That is about 8 to 10 cups of finished salsa, which goes fast if you love chips and tacos.
How to prepare tomatoes for salsa
This step matters more than most people realize.
Proper prep helps texture, flavor, and shelf stability.
Step 1: Peel the tomatoes
Cut a small X on the bottom of each tomato.
Boil for 30 to 60 seconds, then transfer to ice water.
The skins will slip right off.
Step 2: Remove excess seeds and juice
Cut tomatoes in half and gently squeeze out watery centers.
This prevents thin, soup-like salsa.
Step 3: Chop evenly
Consistent size helps everything cook evenly and look better in jars.
Aim for small, even chunks.
Yes, it takes time, but it is worth it.
How to can salsa with fresh tomatoes step by step
Now for the part you came for.
This method follows water bath canning rules and keeps your salsa safe and shelf-stable.
Step 1: Cook the tomatoes with all salsa ingredients
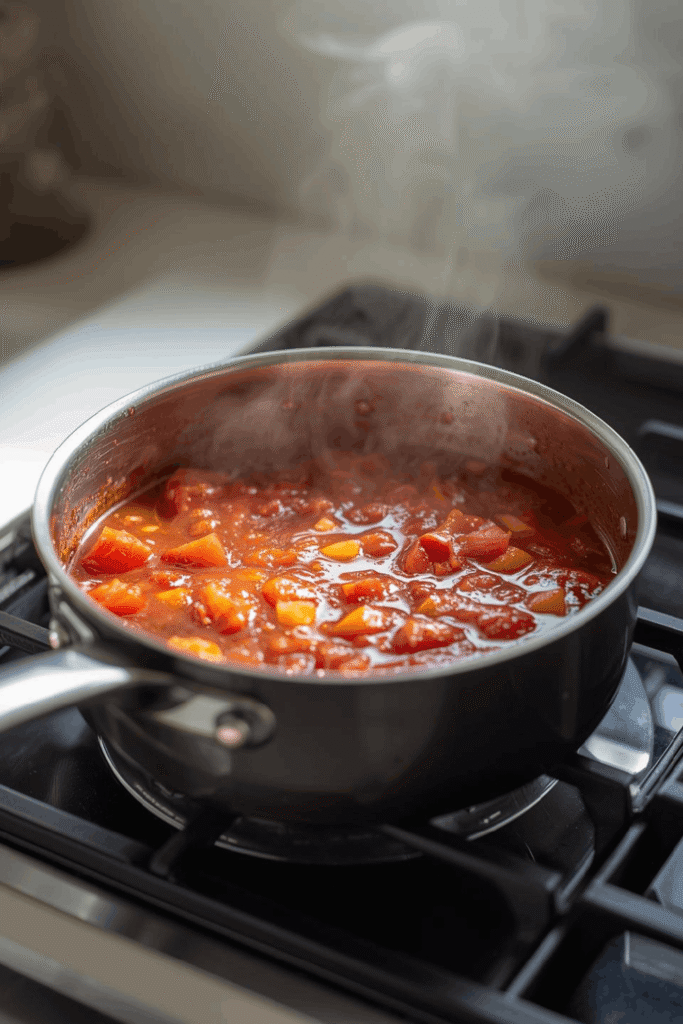
Add all ingredients to a large pot and bring to a boil.
Reduce heat and simmer for 10 to 15 minutes, stirring often.
This helps flavors blend and thickens the mixture slightly.
Taste and adjust spices, but do not reduce acid.
Step 2: Prepare jars and canner
Wash jars in hot soapy water and keep warm.
Heat lids according to package directions.
Fill your water bath canner with water and bring to a simmer.
Step 3: Fill jars
Using a funnel, ladle hot salsa into hot jars.
Leave 1/2 inch headspace at the top.
Wipe rims clean, place lids on, and screw bands finger-tight.
Step 4: Process in water bath
Lower jars into boiling water.
Water should cover jars by at least 1 inch.
Process for:
- 15 minutes if under 1,000 ft elevation
- Adjust time for higher elevations
Turn off heat, let jars sit 5 minutes, then remove carefully.
Step 5: Cool and check seals
Place jars on towel and let cool for 12 to 24 hours.
Lids should not flex when pressed.
Any unsealed jars go in the fridge and get eaten first.
Why bottled acid matters for safety
This part is not negotiable, even if you prefer fresh citrus.
Canning safety depends on reaching a pH below 4.6.
Botulism cannot grow in that environment.
Fresh lime and lemon juice vary in acidity depending on ripeness and variety.
Bottled juice is standardized to safe acidity levels.
According to food safety research, most canning failures happen when acid is reduced or skipped.
So if a recipe says bottled juice, trust the recipe.
You can always adjust flavor after opening the jar, not before sealing it.
How long canned salsa lasts and how to store it
Properly canned salsa stays best quality for 12 to 18 months.
After that, it is usually still safe if sealed, but flavor and color slowly fade.
Store jars in:
- Cool
- Dark
- Dry spaces
Avoid storing near ovens, heaters, or direct sunlight.
Once opened, keep salsa in the fridge and use within 7 to 10 days.
Pro Tip: Write the date on the lid with a marker so you know which jars to use first.
Ways to customize your salsa flavor safely
You can absolutely tweak flavor while keeping safety intact.
Here is what you can safely change:
- Types of peppers (as long as total volume stays same)
- Dried spices
- Fresh herbs added after opening
- Sugar level
What you should not change:
- Total acid amount
- Tomato to vegetable ratio
- Adding low-acid ingredients like corn or beans
If you want chunky restaurant-style salsa, you can blend part of the mixture and leave the rest chunky before cooking.
That gives thickness without changing safety.
Common mistakes to avoid when canning salsa
These are the ones that trip people up most often.
Skipping headspace
Too little headspace can cause leaks and seal failures.
Too much can prevent proper sealing.
Stick to 1/2 inch.
Not adjusting for altitude
Higher elevations need longer processing time.
Water boils at lower temperatures the higher you go.
Always check your local elevation.
Using old lids
Always use new lids for sealing.
Reusing bands is fine, but lids must be fresh.
Not fully cleaning jar rims
Any salsa residue can stop jars from sealing.
Always wipe rims with damp cloth before placing lids.
Tiny details matter in canning.
Is canning salsa cheaper than buying it
Short answer, yes! Especially during tomato season.
If you buy tomatoes at peak harvest prices or grow them yourself, your cost per jar can drop below $1 to $1.50, compared to $3 to $6 for quality store-bought salsa.
Plus, homemade jars make amazing gifts.
People love edible gifts, especially when they are homemade and shelf-stable.
It is frugal and thoughtful at the same time.
FAQs
Yes, but you will need more of them and extra draining. They are juicier and sweeter, so texture may be thinner.
No, sugar is optional and only for taste, it does not affect safety.
You can increase heat by swapping mild peppers for hot ones, but keep total pepper volume the same. Do not add extra peppers beyond recipe amounts.
Separation is normal, liquids settle and solids rise, just shake or stir after opening.
No, cooking helps release air, blend flavors, and create safe consistency. Always simmer before canning.
Final thoughts on canning salsa with fresh tomatoes
Learning how to can salsa with fresh tomatoes is one of those skills that feels old-school but fits perfectly into modern life.
It saves money, reduces waste, and gives you full control over flavor, heat, and ingredients.
But it also builds confidence in the kitchen. You are not just following a recipe, you are creating food that will be there for you weeks and months later.
There is something really satisfying about lining up jars, hearing those lids pop, and knowing you just stocked your own pantry.
Once you do it once, the process becomes second nature and way less intimidating.
Put on music, take your time chopping, and turn it into a cozy kitchen afternoon instead of a chore.
Your future tacos, nachos, and last-minute snack cravings will absolutely thank you.