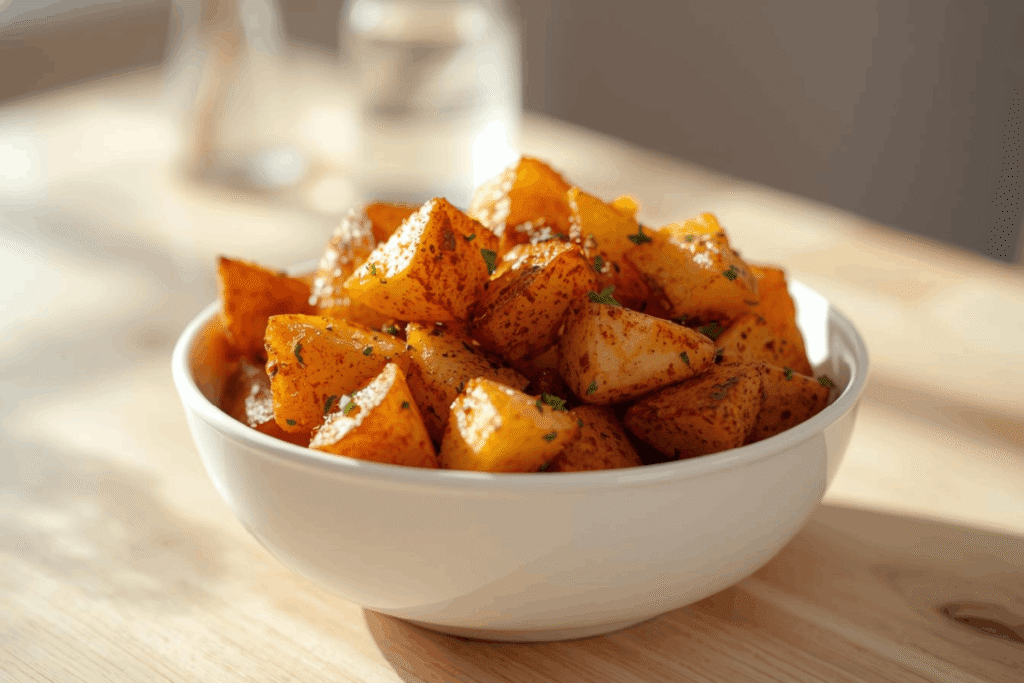
If you have ever wondered how to make crispy breakfast potatoes that actually stay crunchy on the outside and fluffy on the inside, this recipe is about to become your weekend favorite.
You know the kind, golden edges, soft centers, and that irresistible sizzle when they hit the pan.
The best part? You do not need a deep fryer, fancy tools, or restaurant tricks. Just a few simple techniques that make all the difference.
Whether you are building a brunch spread, meal-prepping breakfast bowls, or just craving something cozy and carb-y, these potatoes deliver every single time.
Let’s get into it.
Why homemade breakfast potatoes beat frozen ones every time
Frozen breakfast potatoes are convenient, but they usually fall into one of two sad categories:
- Soft and pale
- Crispy on the outside but dry inside
Homemade potatoes give you:
- Real crisp edges
- Fluffy, steamy centers
- Full control over seasoning
- No preservatives or mystery oils
Pro Tip: Restaurants often parboil potatoes first, then crisp them later. That two-step method is the secret to texture that is crispy and tender at the same time.
Also, making them at home is surprisingly budget-friendly. Potatoes are consistently one of the cheapest produce items per pound, which makes this a high-reward, low-cost recipe.
Best potatoes to use for crispy breakfast potatoes
Not all potatoes crisp the same way, and this choice really matters.
Best options
- Yukon Gold – creamy inside, golden crust, best overall balance
- Russet – very crispy edges, fluffiest interior
Less ideal options
- Red potatoes (too waxy, stay firm but not fluffy)
- New potatoes (great for roasting, not ideal for breakfast hash style)
Pro Tip: If you want diner-style potatoes, go with Russets. If you want brunch-cafe vibes, Yukon Gold is your girl.
The secret step most people skip (and why it matters)
Here is where most home cooks miss out on next-level crispiness.
Parboiling = crispier potatoes
Parboiling means partially cooking the potatoes in salted water before crisping them.
This does three important things:
- Softens the inside so it cooks evenly
- Roughs up the surface, which creates more crispy edges
- Shortens final cooking time, so you do not burn the outside
Yes, it is one extra step, but it is 100% worth it.
Ingredients you need for crispy breakfast potatoes
This recipe is simple, flexible, and pantry-friendly.
Core ingredients
- Potatoes (Yukon Gold or Russet)
- Salt
- Neutral oil (avocado, vegetable, or canola)
- Onion powder
- Garlic powder
- Paprika
- Black pepper
Optional upgrades
- Fresh rosemary or thyme
- Smoked paprika
- Chili flakes
- Diced onions or bell peppers
Pro Tip: Season after parboiling and again while crisping. Layered seasoning = better flavor.
How to make crispy breakfast potatoes step by step
This is the method that gives you consistent results every time, whether you are cooking for yourself or feeding a full brunch table. Each step builds toward that perfect combo of crispy edges and fluffy centers, so try not to skip ahead.
Step 1: Cut and rinse the potatoes
Cut potatoes into even cubes, about 3/4 inch wide. Keeping the pieces similar in size helps them cook evenly, so you do not end up with some pieces burning while others are still firm inside.
Rinse the cubes under cold running water to remove excess surface starch, then drain well.
Removing extra starch helps prevent the potatoes from sticking together and keeps them from steaming in the pan, which is key for crispiness.
Pro Tip: If you have a few extra minutes, soak the cut potatoes in cold water for 10 minutes, then drain and pat dry. This removes even more starch and can boost browning.
Step 2: Parboil in salted water
Add potatoes to a pot of cold salted water, then bring to a boil. Starting in cold water allows the centers to heat gradually, so the outside does not turn mushy before the inside is tender.
Once boiling, reduce to a gentle simmer and cook for 6 to 8 minutes, until the potatoes are just fork-tender but still holding their shape.
Drain immediately and let them sit in the colander for a few minutes so excess moisture can evaporate.
Then gently shake the colander or toss the potatoes in the pot to rough up the edges slightly.
Those rough edges create tiny ridges that turn into crispy bits once they hit the hot oil.
That texture = future crunch.
Step 3: Heat your pan properly
Use a wide skillet, preferably cast iron or stainless steel, since both hold heat well and promote even browning.
Add enough oil to lightly coat the bottom of the pan and heat over medium-high until the oil looks shimmering and flows easily when you tilt the pan.
This step is critical. If the oil is not hot enough, the potatoes will absorb oil instead of searing, which leads to soft, greasy results instead of crisp golden crusts.
Pro Tip: Drop one potato cube into the oil. If it sizzles right away, your pan is ready.
Step 4: Crisp without touching
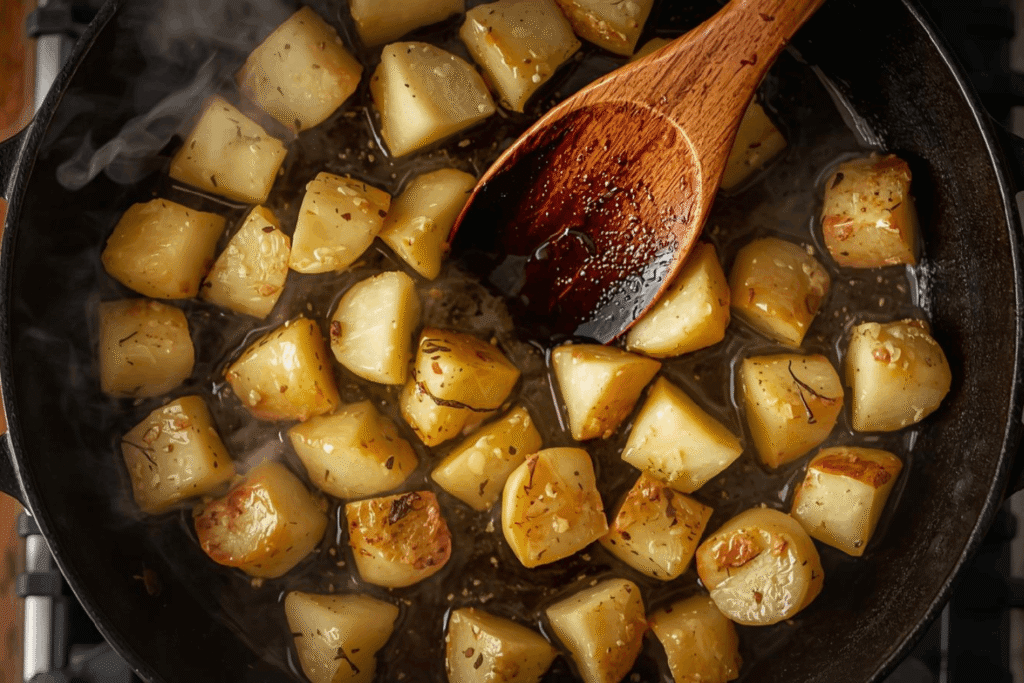
Carefully add the potatoes in a single layer. You should hear an immediate sizzle when they hit the pan.
Do not stir for 4 to 5 minutes. This feels wrong, but it is what allows a crust to form.
Once the bottoms are golden, flip or stir gently and continue cooking, stirring only occasionally, until all sides are crispy and deep golden brown, about 10 to 15 minutes total.
If the pan starts to look dry, you can add a small drizzle of oil around the edges and gently toss to coat.
Avoid overcrowding the pan, since crowded potatoes steam instead of fry. If needed, cook in batches for best texture.
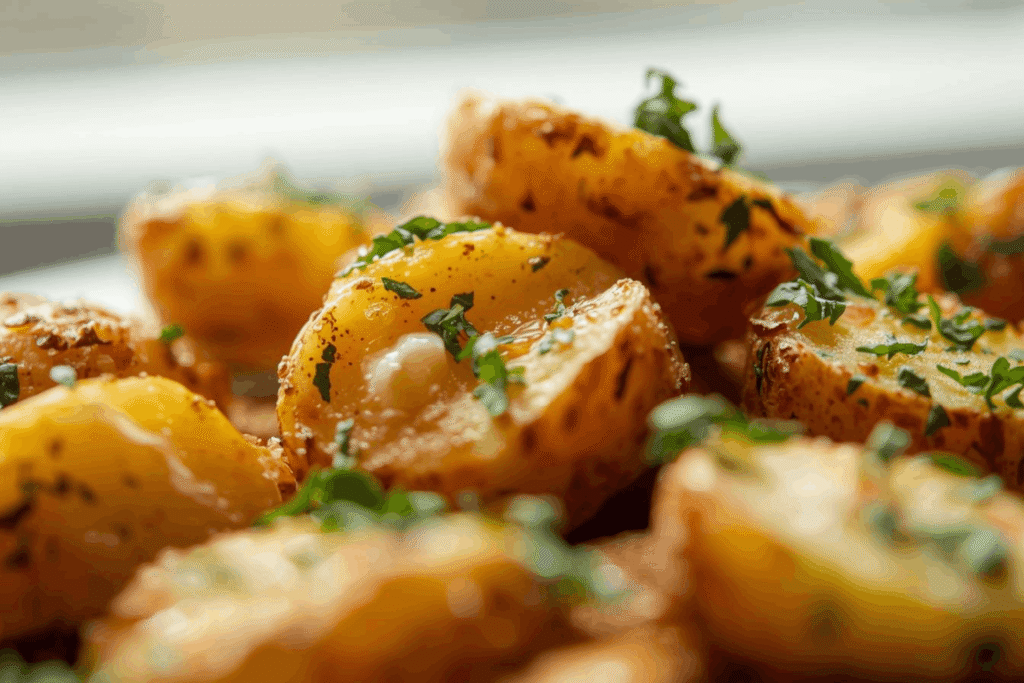
Step 5: Season and serve
Once the potatoes are fully crispy, sprinkle with your seasoning blend and fresh herbs if using.
Seasoning at the end helps the spices stick to the hot oil on the surface and keeps them from burning earlier in the cooking process.
Taste and adjust salt as needed.
Serve immediately while the edges are still crunchy and the centers are soft and fluffy.
This is when breakfast potatoes are at their absolute best.
Common mistakes that prevent crispiness
If your potatoes are not crisping, one of these is usually the culprit.
Overcrowding the pan
Too many potatoes = steam instead of fry.
Cook in batches if needed.
Stirring too early
If you flip too soon, you tear the crust before it forms.
Patience is key here.
Not enough oil
You do not need to deep fry, but dry pans lead to patchy browning.
A light coating across the whole surface is ideal.
Oven vs skillet: which method is better?
Both work, but they give slightly different results.
Skillet method
Best for:
- Maximum crispiness
- Smaller batches
- Quick breakfasts
You get better surface contact, which means better crunch.
Oven method
Best for:
- Feeding a crowd
- Hands-off cooking
- Meal prep
Roast at 425°F (220°C) on a preheated sheet pan for about 35 to 40 minutes, flipping halfway.
Still delicious, just slightly less crunchy than skillet-fried.
Pro Tip: Preheat the pan in the oven before adding potatoes to boost crispiness.
Flavor variations you will want to try
Once you know how to make crispy breakfast potatoes, flavor combos are where the fun really starts.
Classic diner style
- Paprika
- Onion powder
- Black pepper
Garlic herb
- Fresh rosemary or thyme
- Extra garlic powder
- Finish with sea salt
Spicy breakfast potatoes
- Smoked paprika
- Chili flakes
- Tiny splash of hot sauce at the end
Breakfast bowl base
Top with:
- Fried eggs
- Avocado
- Sautéed greens
- Drizzle of sriracha or hollandaise
This turns your potatoes into a full brunch situation very fast.
How to store and reheat breakfast potatoes
Fresh is best, but leftovers can still be great if reheated correctly.
Storing
- Store in airtight container
- Refrigerate up to 4 days
Reheating
Best options:
- Skillet with a little oil
- Air fryer at 375°F for 5 to 7 minutes
Avoid microwaving if you want to keep any crispness.
Why crispy textures are so satisfying (and why we crave them)
Fun food science moment.
Studies show that crunchy textures increase perceived freshness and enjoyment, and they actually activate more sensory feedback when chewing.
That is why crispy foods often feel more satisfying, even when they are simple ingredients like potatoes.
Add that to warm, salty comfort food vibes, and it is basically impossible not to love them.
Simple crispy breakfast potatoes recipe card
Ingredients
- 2 lbs potatoes, cubed
- 1 tbsp salt (for boiling water)
- 2 to 3 tbsp neutral oil
- 1 tsp paprika
- 1 tsp onion powder
- 1/2 tsp garlic powder
- Black pepper to taste
- Optional herbs
Instructions
- Rinse cubed potatoes under cold water.
- Add to pot with salted water, bring to boil, simmer 6 to 8 minutes.
- Drain and let steam dry, gently rough up edges.
- Heat oil in skillet over medium-high until shimmering.
- Add potatoes in single layer and do not stir for 4 to 5 minutes.
- Flip and continue cooking until golden and crispy, about 10 to 15 minutes.
- Season and serve immediately.
FAQs
Yes, parboil and cool them ahead, then crisp them in the skillet when ready to serve. This actually speeds things up and keeps texture great.
Definitely, after parboiling, toss with oil and cook at 400°F (205°C) for about 15 to 18 minutes, shaking halfway. They get very crispy with less oil.
Usually the pan or oil was not hot enough. Hot oil helps create an instant crust that releases naturally from the surface.
Totally optional, potato skins add texture and fiber, and they crisp beautifully if scrubbed well.
It depends on cooking method and oil amount, but homemade breakfast potatoes are often less greasy and less processed than frozen hash browns. You also get more fiber when you keep the skins on.
Final thoughts on making crispy breakfast potatoes
Learning how to make crispy breakfast potatoes is one of those kitchen upgrades that makes every breakfast feel a little more special.
They are simple, comforting, and endlessly customizable, which is exactly what you want from a recipe you will use again and again.
Once you nail the parboil-and-crisp method, you will never go back to soggy potatoes or freezer bags again.
And honestly, few things beat a plate of golden potatoes next to eggs and coffee on a slow morning.