If you have ever scrolled through Pinterest during the holidays, you’ve probably seen those gorgeous dried orange slices tucked into garlands, cocktails, and dessert toppings. They look so delicate and pretty that you’d assume they’re hard to make. But once you learn how to make dried orange slices in oven, you’ll realize they’re one of the easiest DIY kitchen projects you can do.
The best part is that this recipe is beginner friendly, low effort, and completely mess free. Plus, the slow baking process fills your home with the most dreamy citrus aroma. For women between 25 and 35 who love a mix of aesthetic, wellness, and practicality, dried orange slices hit the perfect sweet spot. They’re beautiful, natural, affordable, and surprisingly versatile.
Whether you want them for decorating, crafting, baking, gifting, or simply to snack on, this guide will walk you through everything you need to know in the simplest way possible.
Why oven dried orange slices are so popular
Dried orange slices have become a huge trend in recent years, especially among people who love natural decor and sustainable living. They’re also a favorite for food stylists because they photograph beautifully.
Here’s why they’re loved:
- They’re budget friendly
- Completely natural
- Smell amazing
- They store well
- They brighten up recipes and drinks
- They make great gifts
- They’re biodegradable and eco friendly
- They’re fun to make
On top of that, they’re healthier than candied or sugar coated versions because oven drying does not require added sugar.
Pro Tip: One medium orange has around 70 mg of vitamin C, based on USDA data, so even after drying, you still get trace vitamins and antioxidants.
What you’ll need
You only need a few basic tools and ingredients to get started.
- 2 to 4 oranges
- Sharp knife or mandoline
- Paper towels
- Baking sheet
- Parchment paper
- Optional spices like cinnamon or cloves
Best oranges to use
Not all oranges dry the same, so choosing the right type can help you get perfect results.
Best options:
- Navel oranges
- Blood oranges
- Cara Cara oranges
- Mandarins (small and cute, but dry faster)
Choose oranges that are:
- Firm
- Smooth
- Bright in color
- Not overly soft or bruised
Firm oranges slice more cleanly and dry more evenly.
Optional flavor add ons
If you want to add a little extra warmth and aroma, lightly sprinkle these before baking:
- Cinnamon
- Ground cloves
- Nutmeg
- Pumpkin spice
- Vanilla sugar
They give your orange slices a cozy holiday vibe while still keeping things simple and natural.
Pro Tip: Don’t over season. A very light sprinkle is enough since strong spices can overpower the citrus.
Step by step: how to make dried orange slices in oven
This method is slow, gentle, and straightforward. Anyone can do it.
Step 1: Slice your oranges evenly
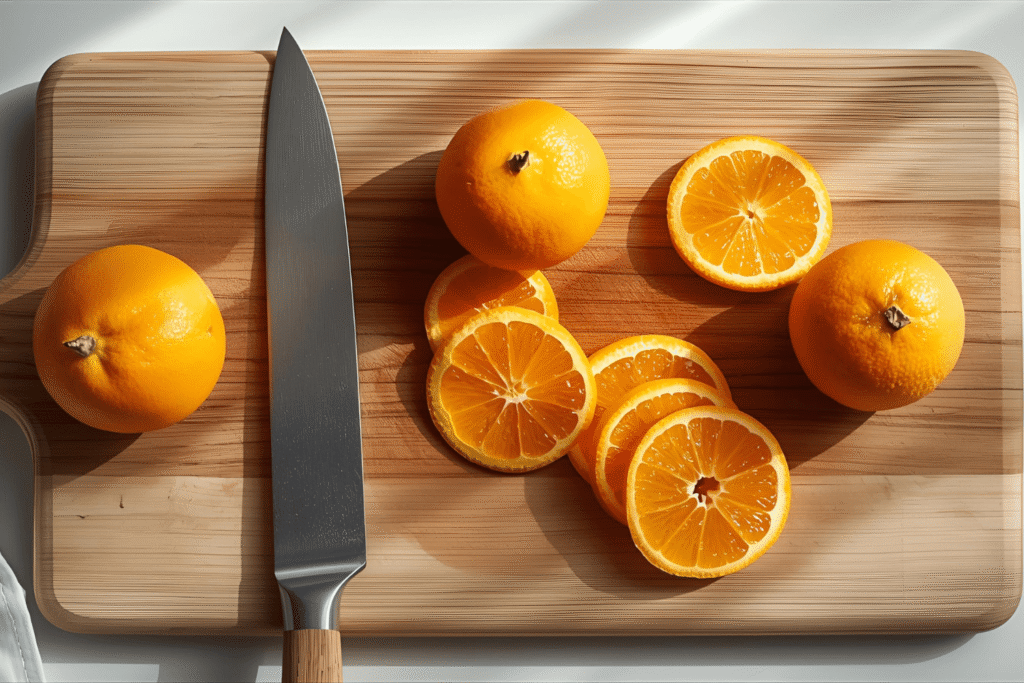
The most important part of learning how to make dried orange slices in oven is getting the slices evenly cut.
Aim for 3 to 4 mm slices.
Thinner slices dry faster but can become brittle. Thicker slices stay beautifully soft in the middle but take longer.
Tools you can use:
- Sharp knife
- Mandoline slicer for perfect consistency
Pro Tip: Avoid sawing motions. Use one smooth downward cut for each slice.
Step 2: Blot and prep
Once sliced, use paper towels to gently blot both sides of each orange slice.
This removes surface moisture so they dry faster and more evenly.
It also helps:
- Prevent curling
- Reduce cooking time
- Enhance color
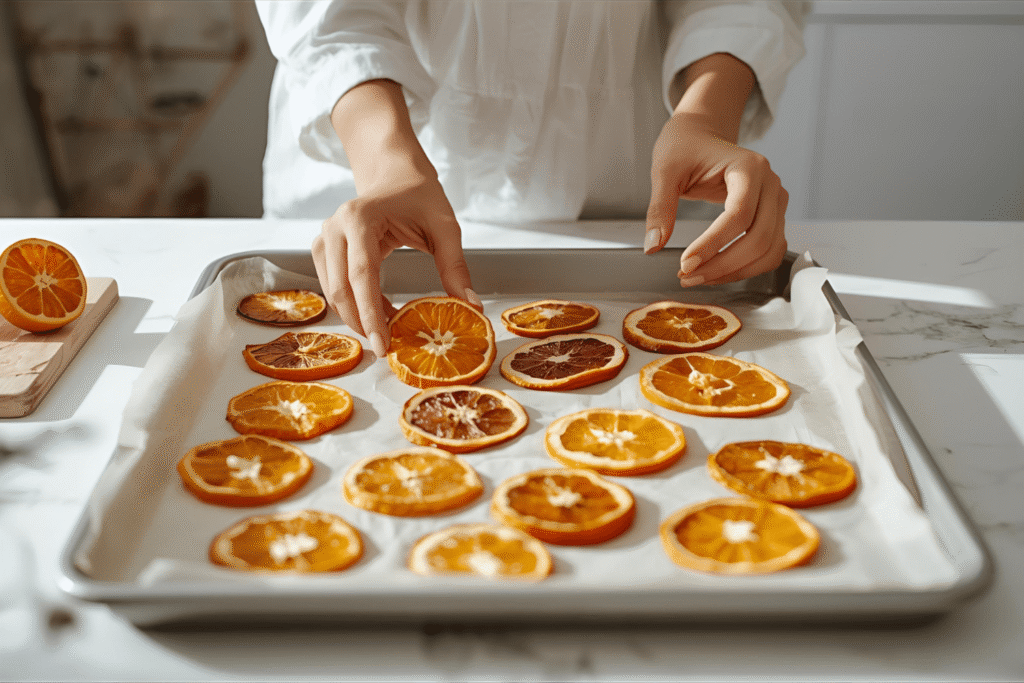
Step 3: Arrange on the tray
Line your baking sheet with parchment paper. This prevents sticking and helps air circulate.
Arrange orange slices in a single layer with space between them.
Crowding them slows the drying process.
Step 4: Bake low and slow
This is the key to the perfect dried orange slices.
Set your oven to 200 F (93 C) and bake for 2.5 to 3 hours.
Flip the slices halfway so they dry evenly.
As they bake, the oranges will:
- Lose moisture
- Become more translucent
- Deepen in color
- Curl slightly at the edges
They should feel dry to the touch but still slightly soft in the middle when warm.
Step 5: Cool and finish
Cooling finishes the drying process. This step is essential.
Let your slices cool on a wire rack for 20 to 30 minutes.
As they cool, they firm up and become fully dried.
If you want them super crisp, turn off the oven and let them sit inside while the oven cools.
Oven temperature and timing chart
Because ovens vary, here’s a simple timing guide.
Thin slices (2 to 3 mm):
- 2 to 2.5 hours
Medium slices (3 to 4 mm):
- 2.5 to 3 hours
Thick slices (5 mm):
- 3 to 3.5 hours
If using mandarins or small citrus, reduce baking time by 20 to 30 minutes.
Pro Tip: Lower temperature preserves the bright orange color. Never dry at high heat.
How to keep dried orange slices bright and vibrant
If you want your dried orange slices to pop visually, focus on freshness and technique.
Here’s how to keep them vibrant:
- Use firm, brightly colored oranges
- Slice evenly
- Pat slices dry
- Bake low and slow
- Flip halfway
- Avoid burning the edges
- Cool completely before storing
If you notice browning, reduce the temperature to 180 F and increase the drying time slightly.
Pro Tip: Blood oranges produce stunning ruby red slices that look Pinterest perfect for decor or gifting.
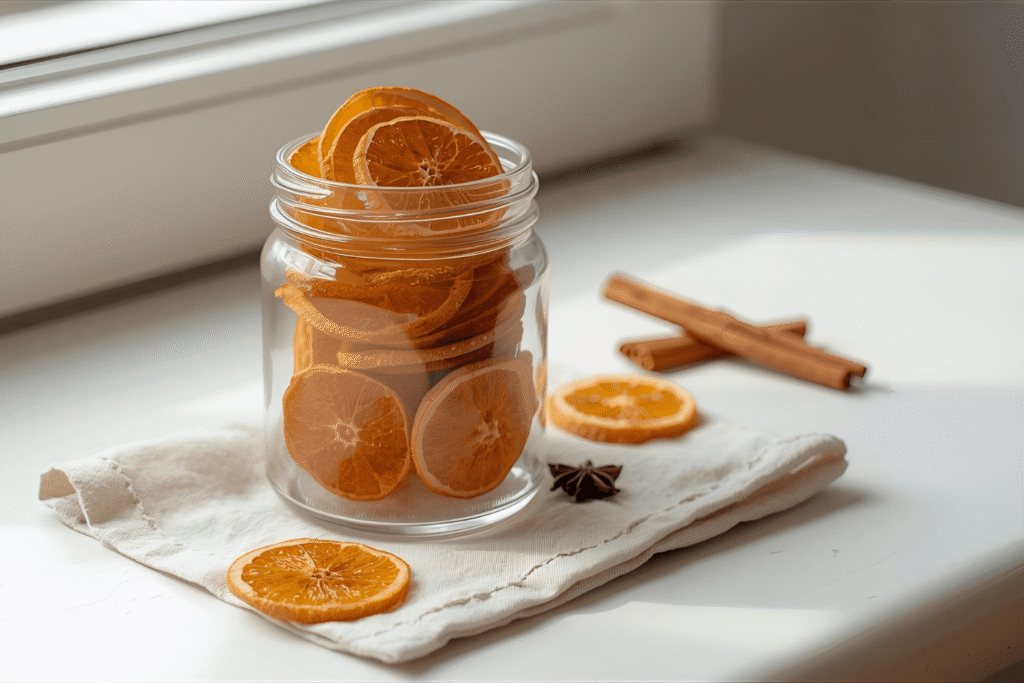
How to store dried orange slices
Dried orange slices can last up to 2 years if stored correctly depending on humidity levels.
Store them in:
- Glass jars
- Airtight containers
- Resealable food safe bags
Keep them away from:
- Heat
- Sunlight
- Moisture
If slices soften over time, simply pop them back into the oven for 10 minutes at 200 F to refresh them.
Common mistakes to avoid
Knowing what to avoid makes the process easier.
- Slices too thick: They will not fully dry.
- Using very juicy oranges: They take much longer to dehydrate.
- Baking at high heat: Causes browning.
- Skipping the blotting step: Leads to uneven texture.
- Crowding the baking sheet: Prevents proper airflow.
- Not flipping slices: Causes moisture pockets.
Pro Tip: If the edges burn but the centers stay soft, turn your oven down by 10 to 15 degrees.
Creative ways to use dried orange slices
Dried orange slices are incredibly versatile. You’ll be surprised how many different uses they have.
For home decor
- Garland for Christmas
- Tree ornaments
- Wreath decorations
- Table centerpieces
- Candle accents
For gifting
- Caramel colored gift tags
- Homemade potpourri
- DIY cocktail kits
- Foodie gift boxes
- Spa style self care baskets
For food and drinks
- Infuse tea
- Garnish cocktails
- Top cakes, loaves, or muffins
- Add to charcuterie boards
- Blend into citrus sugar
Pro Tip: Dried oranges paired with cinnamon sticks and star anise make a beautiful simmer pot for fresh smelling homes.
Nutritional notes
Even though water is removed during drying, many micronutrients remain in small amounts.
Approximate nutrition per dried orange slice:
- Calories: 8 to 12
- Carbs: 2.5g
- Fiber: Trace
- Sugar: Naturally occurring
- Fat: 0g
Oranges retain a portion of their antioxidants even after drying.
Drying oranges keeps them natural and free from added sugar, preservatives, or artificial colors.
If you want to take things a step further after learning how to make dried orange slices in oven, you can experiment with other citrus fruits too. Lemons, limes, grapefruits, and even tiny kumquats dry beautifully and create a colorful mix that looks gorgeous in jars or as festive decor. Mixing citrus types also gives you a range of flavors if you plan to use them in teas or cocktails. Larger fruits like grapefruit will need extra time in the oven, but the process is the same and just as simple. This is a fun way to elevate your DIY projects and add a personalized touch to your home or gifts.
FAQs
Most slices take 2.5 to 3 hours at 200 F, depending on thickness.
Your temperature may be too high. Lower the heat and extend the drying time.
Only if stored while not fully dry or exposed to humidity. Make sure they feel firm and dry before storing.
Yes, but parchment helps prevent sticking and makes flipping easier.
Absolutely. They make a delicious natural snack and are great in teas and baked goods.
No. Oranges are naturally sweet and dry beautifully without any added ingredients.
Final thoughts
Learning how to make dried orange slices in oven is one of those simple, aesthetic kitchen skills that instantly elevates your decor, your recipes, and your gift ideas. They’re budget friendly, smell incredible, and bring a warm, natural charm to anything you use them for.
Whether you’re decorating your home for the holidays, prepping a weekend brunch board, or adding a pretty garnish to your favorite cocktail, dried orange slices are an easy win that always look stunning. Once you try making them yourself, you’ll never go back to store bought versions.