Learning how to make oat flour from oats is one of those simple kitchen habits that makes baking feel easier and healthier. It gives you more control over your ingredients and saves you from buying overpriced premade flour.
Oat flour has become incredibly popular in the last few years because it is nutritious, naturally gluten free, and adds a soft, slightly sweet flavor to baked goods.
Homemade oat flour is fresher than anything store bought, and freshness matters. Studies show that whole grains lose nutrients over time after grinding, which means freshly made flour can provide more benefits.
It is also cheaper. Homemade oat flour usually costs 40 to 60 percent less than store brands. You also avoid fillers and cross contamination that sometimes occur in factory processed flours.
The best part is that it takes less than 30 seconds to make.
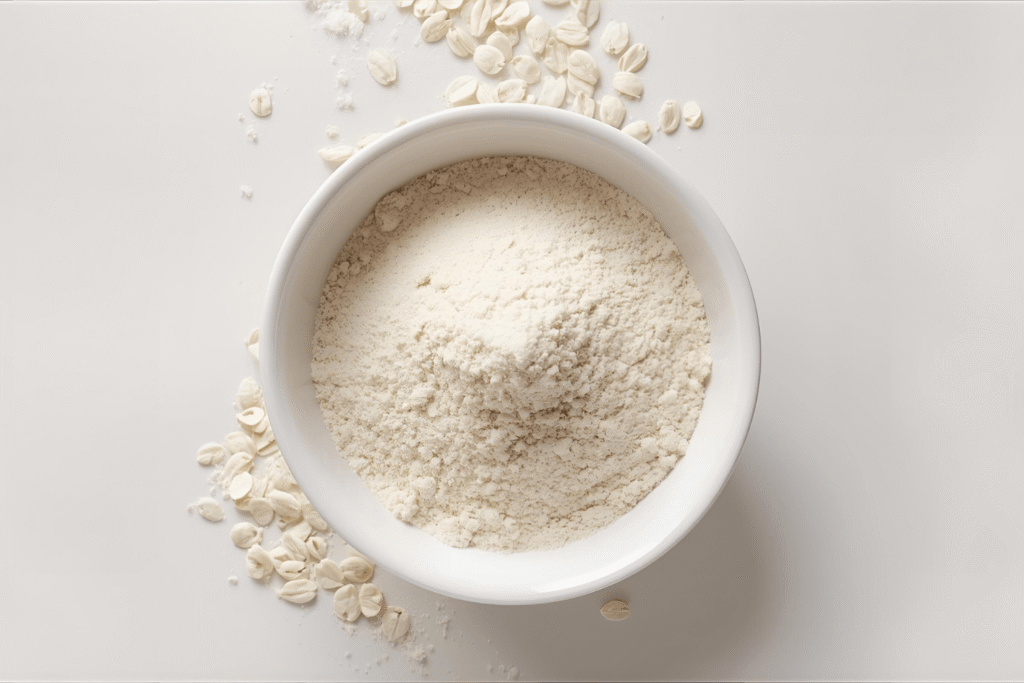
What you need to make oat flour
You only need two things:
- Oats
- A blender or food processor
Rolled oats create a softer flour, while quick oats blend the fastest. Steel cut oats work too, but they take longer and may create a slightly gritty texture if not blended enough.
Pro Tip: If you are gluten free, choose oats labeled certified gluten free to avoid cross contamination.
How to make oat flour from oats step by step
Turning oats into flour is fast, simple, and surprisingly satisfying. It feels like a mini kitchen transformation because you take a basic pantry ingredient and turn it into something softer, finer, and much more versatile. The process is similar to making powdered sugar or almond flour, but even easier because oats are naturally soft and blend beautifully.
Each step plays a role in helping you get consistent results, especially if you use oat flour for baking where texture truly matters.
Step 1: choose the right oats
Any type of oat will work, but some give better results depending on what you plan to use the flour for.
Rolled oats are the most reliable option because they blend evenly and create a flour with a fluffy, uniform texture. This is ideal for muffins, cookies, pancakes, and most baked goods.
Quick oats blend even faster since they are cut smaller. They can create a slightly finer flour, which is great if you want a soft, almost powder like finish.
Steel cut oats will give you a heartier flour with a more rustic feel. They take longer to grind and may require multiple blending rounds. If you love a bit of texture in baked goods, this can be a good choice, but they are less ideal for delicate recipes.
If you follow a gluten free diet, choose oats labeled certified gluten free to avoid cross contamination.
Step 2: measure your oats
Measuring your oats correctly helps you get predictable results in recipes.
Oats naturally become more compact when ground, so your final yield is always a little less than the amount of whole oats you started with. This is completely normal and happens because air pockets between the flakes disappear once blended.
As a general rule:
1 cup oats = around 3/4 cup oat flour
If you need a precise amount for a recipe, measure slightly more than you think you need. For example, if your recipe calls for 1 cup of oat flour, start with 1 and 1/3 cups of oats. This ensures you never end up short halfway through a recipe.
You can also make a large batch in advance and store it so you always have some ready.
Step 3: blend into flour
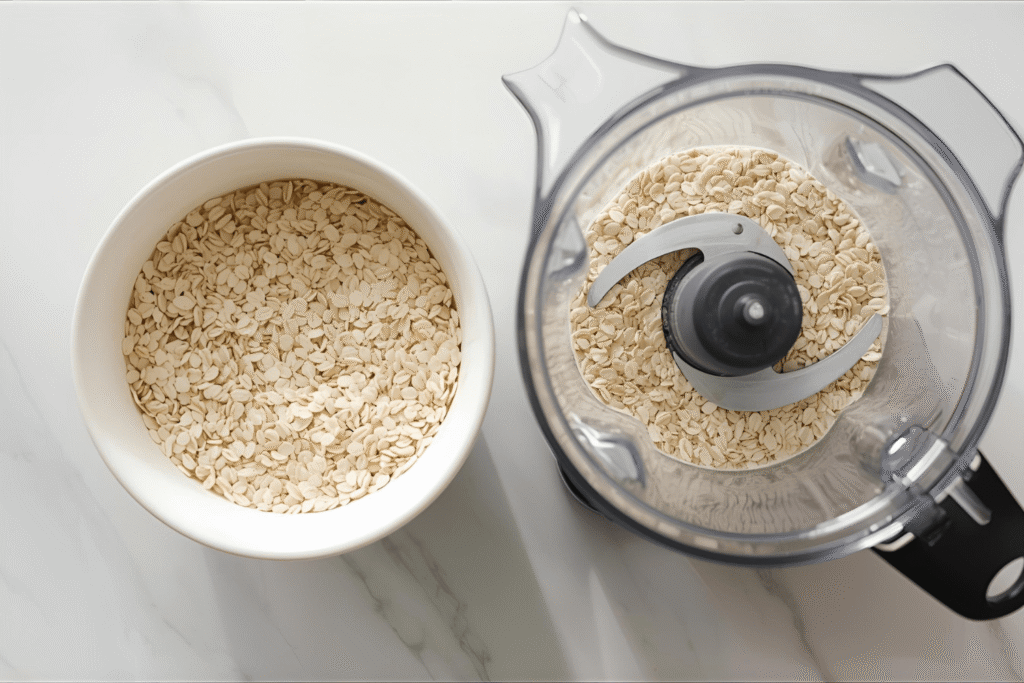
Add your measured oats to a blender, food processor, or spice grinder. Pulse until the oats turn into a fine, powdery consistency. Most high speed blenders take 15 to 30 seconds, while food processors may need a bit more time.
Halfway through blending, pause and check the texture. Scrape down the sides to bring any larger pieces back toward the blades. This helps ensure you do not end up with uneven flour.
If your blender struggles to catch all the oats, tilt it slightly or tap the sides gently to help distribute the oats more evenly.
Pro Tip: Blend in small batches if you want super fine flour. When the blender is overcrowded, it cannot break down the oats consistently.
Step 4: sift for a fine texture
Sifting is optional, but it makes a noticeable difference if you want that soft, bakery style texture.
Pour your blended oats through a fine mesh sieve. The finer particles will fall through easily, while any larger pieces will stay behind. This helps eliminate grittiness that sometimes appears in oat flour made from rolled or steel cut oats.
Do not throw away the coarse bits. Add them back into your blender and pulse again until they match the rest of the flour.
Sifting is especially helpful if you plan to use your oat flour for cakes, pancakes, or cookies where smooth texture is important.
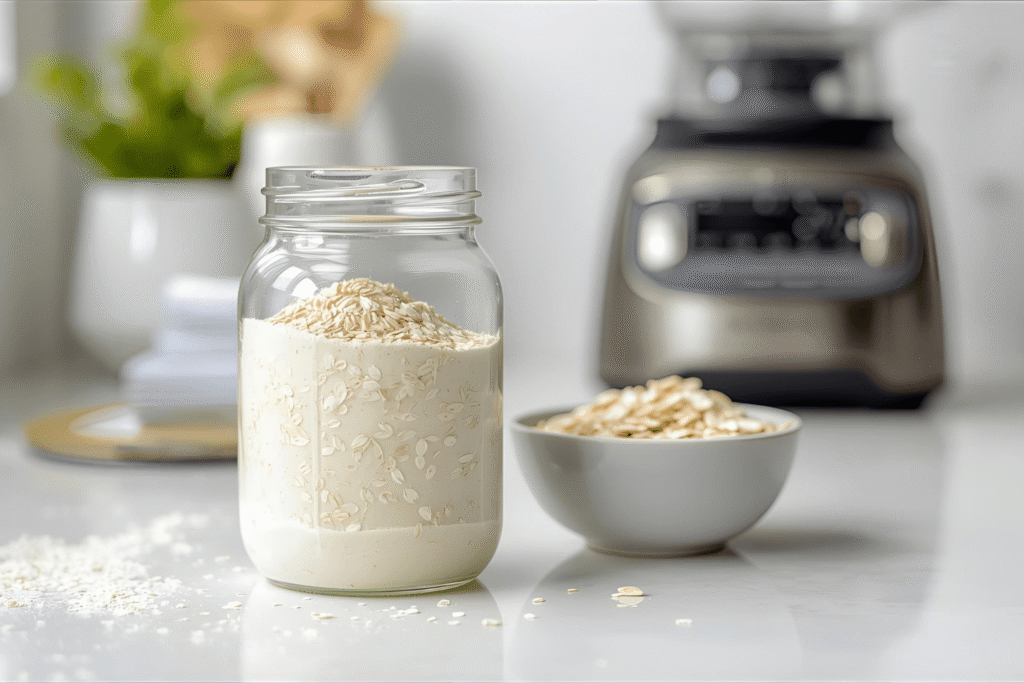
Step 5: store it the right way
Storing oat flour correctly helps keep it fresh and flavorful. Because oats contain natural oils, they can go stale more quickly than traditional wheat flour if stored improperly.
Place your oat flour in an airtight jar or storage container. Keep it in a cool, dry place away from sunlight.
Here is how long it keeps:
- Room temperature: up to 2 months
- Refrigerator: 3 to 4 months
- Freezer: up to 6 months
Freezing oat flour helps preserve its natural oils and nutrients without affecting the texture. It also prevents clumping during warmer months.
Pro Tip: Label each batch with the date so you always know how fresh it is. This helps you rotate your flour if you make it often.
How much oat flour you get from oats
Because oat flour becomes more compact after blending, you usually end up with slightly less volume than the amount of oats you started with.
Here is a quick guide:
- 1 cup rolled oats = 3/4 cup oat flour
- 2 cups rolled oats = 1.5 cups oat flour
- 3 cups rolled oats = 2.25 cups oat flour
If you want very fine oat flour, the yield may be a little lower because sifting removes larger flakes.
Best ways to use homemade oat flour
Homemade oat flour works in so many recipes and adds a delicious light sweetness.
Baking
Oat flour is a dream in muffins, pancakes, cookies, and quick breads. It gives baked goods a tender texture and helps them stay soft longer.
You can replace up to 25 to 30 percent of all purpose flour in most recipes without changing the structure. Some recipes like pancakes and muffins can use oat flour fully.
Cooking
Oat flour makes a great thickener for soups, gravies, and sauces. It blends smoothly and adds a subtle nutty taste.
It also works well for coating chicken or vegetables for pan frying.
Healthy snacks
Use oat flour in:
- Energy balls
- Breakfast bars
- Smoothie boosters
- Protein bites
It adds fiber and keeps you full longer. One cup of oats contains 10 grams of fiber, which is why oat based snacks keep your energy steady.
Oat flour vs regular flour
Oat flour behaves differently from wheat flour because it does not contain gluten. Gluten gives dough elasticity, so oat flour cannot replace all purpose flour in every recipe without adjustments.
However, oat flour offers benefits:
- Higher fiber
- Naturally sweet flavor
- Lighter texture
- Great for gluten free baking
If you combine oat flour with another gluten free flour like almond or rice flour, it can fully replace wheat flour in many recipes.
Pro tips for perfect homemade oat flour
These little tricks make your oat flour even better.
Pro Tip: Chill your oats before blending to keep the flour cool and prevent clumping.
Pro Tip: Blend for an extra 5 seconds for super fine flour that mimics cake flour.
Pro Tip: Keep a large jar of oat flour pre made so you can grab it instantly for baking.
Pro Tip: Use a high speed blender for the smoothest, most consistent results.
Common mistakes to avoid
Here are the issues people run into most often when making oat flour at home.
Blending too much at once
This leads to uneven texture. Work in smaller batches for finer flour.
Skipping the sift
Not sifting can leave flakes that make baked goods feel gritty.
Using damp oats
Moisture causes clumping and can shorten shelf life.
Not storing properly
Oat flour goes stale faster than wheat flour, so airtight storage is essential.
FAQs
Yes. A food processor, spice grinder, or even a coffee grinder works well.
Only if the oats are certified gluten free. Regular oats may have trace gluten from processing.
Yes. Pancakes, muffins, and some cookies turn out great. Bread and pastries need additional structure.
Yes. It tastes fresher and slightly sweeter because the oats have not been sitting processed for months.
Absolutely. Freezing keeps it fresh for up to 6 months.
Final thoughts
Learning how to make oat flour from oats is one of the easiest ways to make your kitchen feel more creative and efficient. With just a few handfuls of oats and a blender, you unlock a versatile ingredient that works in everything from fluffy pancakes to healthy snacks.
Once you try homemade oat flour, it becomes hard to go back to store bought versions. The texture is smoother, the flavor is fresher, and you always know exactly what is in it. It also saves money and helps you avoid the long shelf life additives found in packaged flours.
Try making a small batch today and experiment with adding it to your favorite recipes. You might discover that oat flour becomes one of your go to ingredients for baking, cooking, and meal prepping.