Roasted garlic is one of those tiny kitchen upgrades that makes everything taste expensive with almost zero effort.
If you’ve ever wondered how to roast garlic cloves in the oven, you’re about to unlock a simple trick that instantly levels up pasta, toast, vegetables, sauces, soups, and even salad dressings.
Raw garlic is sharp and spicy.
Roasted garlic becomes sweet, buttery, mellow, and spreadable.
Even better, it’s affordable, naturally healthy, and stores beautifully for quick meals.
According to the USDA, garlic contains compounds linked to immune support and heart health, and roasting keeps most of those benefits intact while making it easier to digest.
This guide walks you through:
- Exactly how to roast garlic cloves in the oven step by step
- Best temperatures and timing
- How to roast peeled cloves vs whole bulbs
- Storage tips and flavor variations
- Mistakes to avoid
- Creative ways to use roasted garlic
- FAQs beginners always ask
Let’s make your kitchen smell amazing.
Why roasted garlic tastes so good
When garlic roasts, something magical happens inside the oven.
Heat triggers caramelization, breaking down harsh sulfur compounds and transforming them into sweet, nutty, savory notes. The cloves soften until they’re almost jam-like.
That’s why roasted garlic feels comforting rather than aggressive.
Flavor benefits
- Sweetness increases naturally without added sugar.
- Bitterness disappears as sulfur compounds mellow.
- Texture becomes spreadable, perfect for mixing or smearing.
- Aroma fills your kitchen in the best way.
Health perks still remain
Garlic is rich in antioxidants and sulfur compounds. While some heat-sensitive compounds reduce slightly, many beneficial properties remain active after roasting.
Regular garlic intake has been linked to:
- Heart health support
- Immune system function
- Anti-inflammatory benefits
Pro Tip: If raw garlic upsets your stomach, roasted garlic is often much gentler and easier to digest.
Ingredients and tools you’ll need
This recipe is beautifully minimal.
Ingredients
- Fresh garlic cloves (as many as you want)
- Olive oil (about 1–2 teaspoons per head of garlic)
- Sea salt (optional)
- Fresh herbs like rosemary or thyme (optional)
Tools
- Baking dish or small oven-safe ramekin
- Aluminum foil or oven-safe lid
- Knife (if trimming bulbs)
- Spoon or fork for squeezing cloves
- Oven
How to roast garlic cloves in the oven step by step
This is the classic method using whole garlic bulbs. It’s foolproof, forgiving, and perfect for beginners who want consistent results every time. Once you try it once, it becomes second nature and you’ll probably start roasting extra bulbs just to keep on hand for the week.
Roasting whole bulbs allows the garlic to gently steam first, then caramelize slowly, which creates that signature sweet, buttery, spreadable texture everyone loves.
Step 1 – Preheat your oven
Set your oven to 400°F (200°C) and allow it to fully preheat before placing the garlic inside.
This temperature strikes the ideal balance between softening and caramelization. If the oven is too cool, the garlic can dry out before it becomes tender. If the oven is too hot, the outer edges may brown too quickly and develop bitterness.
If your oven runs hot or uneven, consider placing the garlic on the middle rack for more consistent heat circulation.
Pro Tip: A properly preheated oven helps the garlic cook evenly from the start and prevents rubbery texture.
Step 2 – Prepare the garlic
Take a whole garlic bulb and place it on a cutting board. Using a sharp knife, slice about 1/4 inch off the top so the tips of all the cloves are exposed.
Leave the papery skins intact. They act like natural insulation, protecting the cloves from direct heat while trapping moisture inside. This keeps the garlic tender and prevents scorching.
Trim away any loose outer layers if they’re excessively dirty or torn, but don’t peel the bulb apart.
Place the bulb cut-side up into a small baking dish, ramekin, or foil-lined tray. Keeping it upright prevents oil from spilling and ensures even roasting.
If you’re roasting multiple bulbs, space them slightly apart so heat can circulate properly.
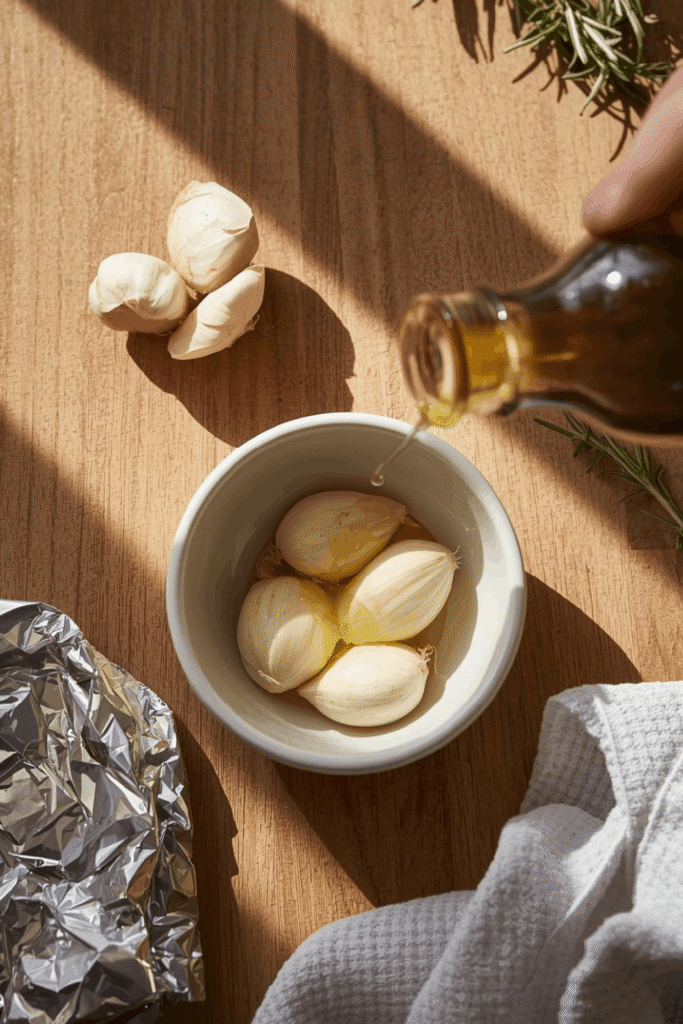
Step 3 – Drizzle with oil
Drizzle olive oil generously over the exposed cloves. Aim for about 1–2 teaspoons per bulb, making sure the oil seeps down into the gaps between each clove.
Oil plays two important roles:
- It prevents the garlic from drying out during roasting.
- It encourages browning and caramelization for richer flavor.
Sprinkle lightly with sea salt if you’d like to enhance sweetness and depth.
Optional additions at this stage include a small sprig of rosemary, thyme, or even a light crack of black pepper for subtle aroma.
Pro Tip: If you love deeper flavor, gently rub the oil across the exposed cloves using a pastry brush or clean fingers.
Step 4 – Cover tightly
Cover the dish tightly with aluminum foil or an oven-safe lid, sealing the edges well.
This step creates a steamy environment inside the dish. The trapped moisture allows the garlic to soften slowly before it begins browning, which prevents hard edges and uneven cooking.
Think of this phase as gently “slow-cooking” the garlic inside its own natural juices.
Skipping this step often leads to dry or partially burned cloves.
Step 5 – Roast
Place the covered dish in the oven and roast for 40–50 minutes, depending on bulb size and oven accuracy.
About halfway through, you may start to notice a warm, sweet aroma filling your kitchen. That’s a sign caramelization is underway.
You’ll know the garlic is ready when:
- The cloves appear golden to light amber
- The centers feel very soft when pressed
- The aroma smells sweet, nutty, and mellow
- A knife slides easily into the clove without resistance
If the garlic still feels firm at 40 minutes, continue roasting in 5-minute intervals until fully tender.
Pro Tip: For deeper caramelization and slightly jammy edges, remove the foil during the last 8–10 minutes and allow the tops to lightly brown.
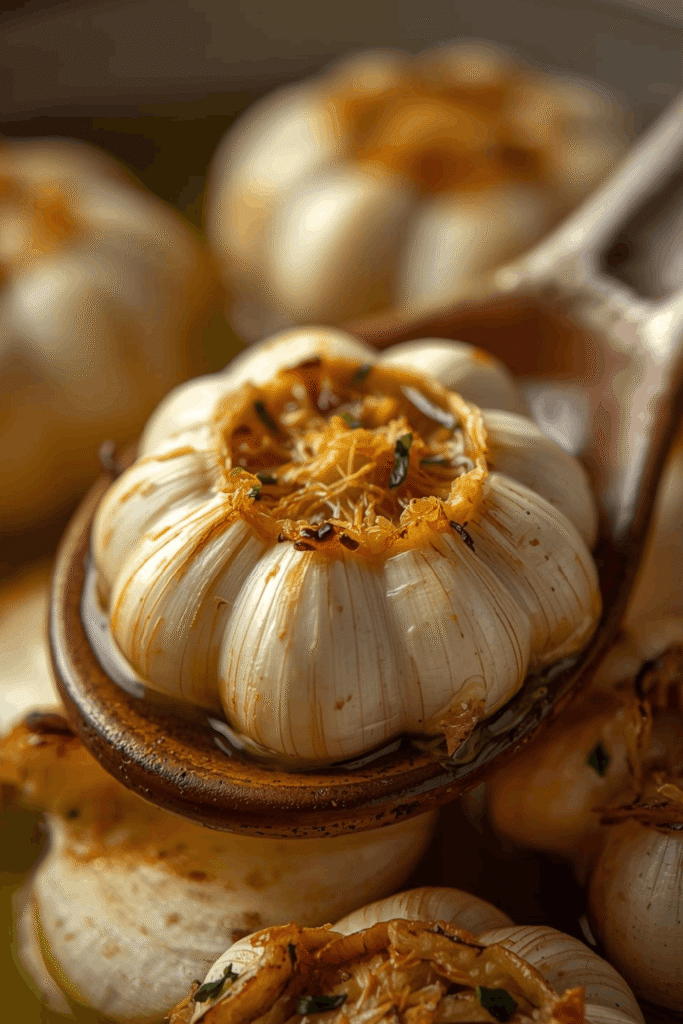
Step 6 – Cool and squeeze
Remove the dish from the oven and allow the garlic to cool for 5–10 minutes. Hot garlic can burn your fingers and may be too soft to handle immediately.
Once cooled slightly, hold the bulb from the base and gently squeeze upward. The roasted cloves should slide out easily in one smooth motion.
You can:
- Mash the garlic into a smooth paste
- Leave cloves whole for spreading
- Stir directly into recipes
- Store for later use
The texture should feel creamy and spreadable, almost like softened butter.
If any cloves resist squeezing, return them to the oven uncovered for a few extra minutes.
Pro Tip: Save the leftover infused olive oil in the dish and drizzle it over vegetables, bread, or pasta for bonus flavor.
How to roast peeled garlic cloves instead of whole bulbs
Sometimes you don’t want to roast an entire bulb. Maybe you only need a handful of cloves for a recipe.
When to use this method
- Meal prep batches
- Small portion cooking
- Faster roasting
- Easier storage
Instructions
- Preheat oven to 375°F (190°C).
- Place peeled cloves in a small baking dish.
- Drizzle with olive oil and toss gently.
- Cover tightly with foil.
- Roast for 25–30 minutes, stirring once halfway.
- Uncover for 5–10 minutes if you want extra browning.
The cloves will turn golden, soft, and slightly crisp on the edges.
Pro Tip: Add a splash of balsamic vinegar during the final 5 minutes for a sweet-savory glaze.
Best temperature and timing for perfect roasted garlic
Temperature matters more than most people realize.
Ideal temperature
- 400°F (200°C) for whole bulbs
- 375°F (190°C) for peeled cloves
Timing guide
- Whole bulb (covered) – 40–50 minutes
- Peeled cloves – 30–40 minutes
- Extra caramelization – add 5–10 minutes uncovered
Garlic size, moisture, and oven calibration may slightly affect timing.
Trust your senses more than the clock.
Common mistakes to avoid
Roasting garlic is easy, but a few small mistakes can ruin the flavor.
- Using very high heat, which causes bitterness
- Skipping oil, leading to dry texture
- Leaving garlic uncovered too early
- Under-roasting and missing caramelization
- Using old or sprouted garlic
Flavor variations to elevate roasted garlic
Once you master the basics, customization becomes fun.
Herb-infused garlic
Add rosemary, thyme, sage, or bay leaf. Perfect for vegetables and meats.
Spicy garlic
Add red pepper flakes, chili oil, or smoked paprika. Great for pasta and sandwiches.
Citrus garlic
Add lemon zest or orange peel, then finish with citrus juice after roasting. Brightens seafood and salads.
Honey garlic
Drizzle a small amount of honey during the final 10 minutes for caramelized sweetness.
Pro Tip: Keep flavors simple if you plan to use garlic across multiple dishes.
How to store roasted garlic safely
Proper storage keeps flavor fresh and safe.
Refrigerator storage
- Store in airtight container
- Lightly cover with olive oil
- Keeps for 5–7 days
Freezer storage
- Mash garlic into portions
- Freeze in ice cube trays
- Transfer to freezer bag
- Keeps for up to 3 months
Always refrigerate garlic stored in oil to avoid bacterial growth.
Creative ways to use roasted garlic
Roasted garlic becomes your secret flavor booster.
- Spread on sourdough toast with butter and flaky salt
- Stir into mashed potatoes or cauliflower mash
- Blend into salad dressings and vinaigrettes
- Mix into pasta sauces or risotto
- Add to hummus or yogurt dips
- Smash into roasted vegetables
- Spread under roasted chicken skin
Quick garlic butter idea
Mash:
- 4 roasted cloves
- 2 tablespoons softened butter
- Pinch of salt
- Optional herbs
Store in the fridge for instant upgrades.
How roasted garlic supports budget-friendly cooking
Garlic remains one of the cheapest fresh flavor ingredients in most grocery stores.
A single bulb often costs under $1 and can flavor multiple meals. Instead of buying expensive sauces or seasoning blends, roasted garlic creates depth naturally with zero additives.
Small habit, noticeable savings.
FAQs
Yes, but covering helps soften the cloves and prevents burning. If roasting uncovered, reduce heat slightly and monitor closely.
Some heat-sensitive compounds reduce slightly, but antioxidants and beneficial compounds largely remain intact.
Yes. Wrap garlic in foil and air fry at 375°F for 20–25 minutes, checking early to avoid burning.
Most commonly caused by excessive heat, over-roasting, old garlic, or insufficient oil.
Absolutely. It stores well and saves prep time during busy weeks.
Roast multiple bulbs at once. You’ll use them faster than you expect.
Final thoughts
Learning how to roast garlic cloves in the oven is one of those simple kitchen skills that quietly upgrades everything you cook.
It’s easy, affordable, healthy, and incredibly versatile.
Once you keep roasted garlic in your fridge, you’ll reach for it constantly. Your meals taste richer, your prep gets faster, and your confidence in the kitchen grows naturally.
If you try this recipe, experiment with flavors and make it your own. Cooking should feel joyful, cozy, and delicious every single time.