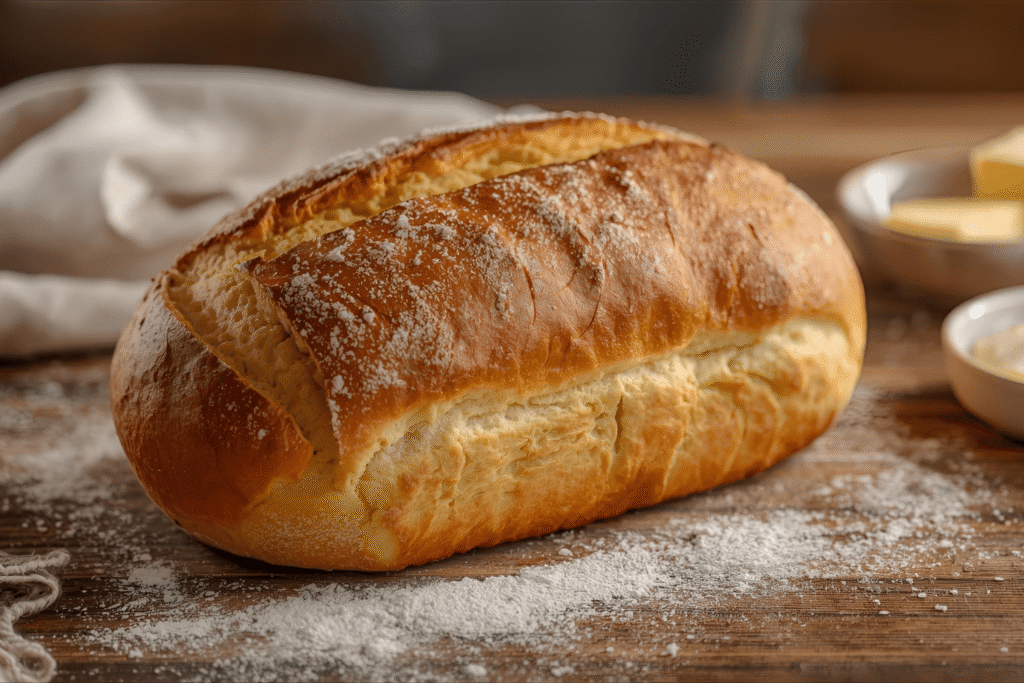
If you’re craving homemade bread that’s crisp on the outside, soft and airy on the inside, and made with just pantry staples, you’ll fall in love with this water bread recipe. This humble loaf uses only four main ingredients, flour, water, yeast, and salt, yet the result is pure bakery magic.
Water bread is all about minimalism. With a high water content and a simple process, you get a beautifully rustic loaf that pairs perfectly with butter, soups, or even just olive oil. And the best part? It’s beginner-friendly but tastes like something you’d find at a European bakery.
What is water bread
Water bread is a type of yeast bread made with a high water-to-flour ratio. That extra hydration gives it a light, open crumb and a crisp golden crust. It’s sometimes called “pan de agua” in the Caribbean or simply “crusty white bread” in Europe.
It’s perfect for:
- Toasting in the morning with butter and jam
- Serving with soups, pasta, or stews
- Using for sandwiches and bruschetta
- Impressing friends with the aroma of freshly baked bread
Pro Tip: The secret to great water bread lies in the hydration. The dough should feel soft and slightly sticky, this means your loaf will rise beautifully and stay fluffy inside.
Ingredients you’ll need
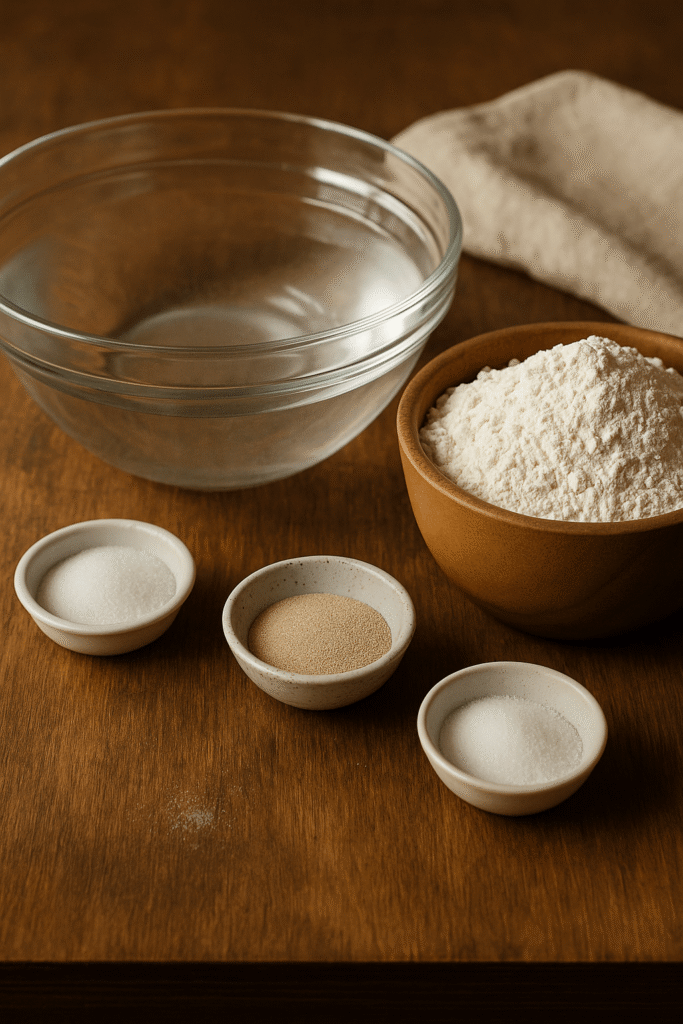
This recipe makes one large loaf or two smaller ones.
For the dough:
- 3 cups warm water (around 100–110 °F / 38–43 °C)
- 1 tablespoon sugar
- 2¼ teaspoons (1 packet) active dry yeast or instant yeast
- 5 cups bread flour (or all-purpose flour if you prefer)
- 1 tablespoon salt
Optional for finishing:
- 1 egg white mixed with 1 tablespoon water (for shine)
- Extra flour or cornmeal for dusting
Pro Tip: Bread flour will give you a slightly chewier loaf, while all-purpose flour makes it lighter. Both work beautifully.
Step-by-step method
1. Prepare the yeast
Start by warming your water to around 100–110 °F (38–43 °C), warm enough to activate yeast but not so hot that it kills it. If you don’t have a thermometer, test it with your finger; it should feel warm but comfortable, not hot.
Pour the warm water into a large mixing bowl and stir in the sugar until it dissolves. Sprinkle the yeast over the surface and give it a gentle stir. Let the mixture sit undisturbed for about 10–15 minutes.
You’ll notice small bubbles or a foamy layer forming on top, this is the yeast coming alive. If nothing happens after 15 minutes, your yeast may be expired or your water was too hot or too cold. Start again with fresh yeast to ensure your bread rises properly.
Pro Tip: Always check the yeast expiration date. Even slightly old yeast can slow the rise and affect the texture of your loaf.
2. Make the dough
Once your yeast mixture looks frothy, it’s time to bring everything together. Add in your flour and salt. If you’re using a stand mixer, attach the dough hook and mix on low speed until everything combines. If you’re doing it by hand, use a sturdy wooden spoon to stir until a shaggy, sticky dough forms.
At this point, the dough might not look perfect and that’s completely normal. The magic happens as you knead. Transfer the dough onto a clean, lightly floured or oiled surface. Start kneading by folding the dough over itself, pressing it down, and turning it a quarter turn each time.
Knead for about 8–10 minutes until it becomes smooth, elastic, and slightly tacky. The goal is for the dough to stretch without tearing when gently pulled.
If it’s sticking to your hands too much, don’t add a lot of flour. A light drizzle of oil on your hands works much better and helps maintain the hydration that gives your bread its soft, airy texture.
Pro Tip: Using oiled hands instead of flour prevents drying out the dough and keeps that essential hydration for a soft crumb.
3. Let it rise
Once the dough is smooth, form it into a ball and place it in a large, lightly oiled bowl. Turn it once so all sides are coated, this keeps the surface from drying out. Cover the bowl with plastic wrap, beeswax wrap, or a clean, damp kitchen towel.
Place it somewhere warm and draft-free, like near a sunny window or inside your oven with just the light turned on. Let the dough rise for 1½ to 2 hours, or until it doubles in size.
You’ll know it’s ready when a gentle press with your finger leaves a small indentation that slowly springs back. If it bounces back immediately, let it rest a little longer.
Pro Tip: The perfect rise time depends on room temperature. If your kitchen is cool, it might take a bit longer, you can always use your oven’s “proof” setting or place a bowl of warm water beside the dough to create a cozy environment.
4. Shape the loaf
Once your dough has doubled, it’s time for the fun part. Gently punch it down to release excess gas, don’t go overboard, just a few light presses will do. Turn the dough onto your counter and shape it into a rectangle.
For one large loaf, roll it up from one long side into a log, tucking the ends underneath to form a smooth oval shape. For two smaller loaves, divide the dough evenly before shaping.
Place your shaped dough on a baking sheet lined with parchment paper and lightly dusted with flour or cornmeal to prevent sticking. Use a sharp knife or a bread lame to score the top 3 or 4 diagonal slashes about ½ inch deep. This not only makes the loaf look professional but also helps it expand evenly in the oven.
Pro Tip: Scoring the dough isn’t just decorative, it allows steam to escape and prevents your loaf from cracking unpredictably while baking.
5. Proof again
Cover the shaped dough loosely with a clean towel and let it rest for 25–30 minutes while your oven preheats to 400 °F (200 °C). During this short second rise, the dough relaxes and builds a bit more volume.
If you’re using an egg-white wash for shine, whisk 1 egg white with 1 tablespoon of water and brush it gently over the top right before baking. This gives your bread that beautiful golden color and a light sheen.
Pro Tip: To test if your dough is proofed enough, gently poke the surface with your fingertip. If the indentation springs back slowly and partially, it’s ready to bake. If it bounces back quickly, give it another 10 minutes.
6. Bake with steam
This step is where your loaf transforms from dough to a masterpiece. To get that signature crisp crust, you’ll need a bit of steam in your oven. Place a small, oven-safe dish of boiling water on the bottom rack just before baking.
Slide your bread onto the middle rack and bake for 30–35 minutes, or until it turns a rich golden brown. The crust should feel firm, and the loaf should sound hollow when tapped on the bottom.
If you have an instant-read thermometer, check that the internal temperature is around 205–210 °F (96–99 °C), that’s the sweet spot for perfectly baked bread.
During baking, your kitchen will fill with that heavenly fresh-bread aroma that makes the wait completely worth it.
Pro Tip: For an even crisper crust, remove the water dish during the last 5 minutes of baking and crack the oven door slightly open to let moisture escape.
7. Cool and slice
When the bread comes out of the oven, it will be incredibly tempting to slice it right away, but patience pays off here. Transfer the loaf to a wire rack and let it cool for at least 10–15 minutes before cutting into it.
Cooling allows the interior to finish setting and prevents the crumb from becoming gummy or collapsing. Use a serrated knife to slice through the crust easily without squashing your loaf.
Enjoy your water bread warm with butter, a drizzle of olive oil, or a sprinkle of sea salt. Each bite should be crisp on the outside, fluffy inside, and absolutely irresistible.
Pro Tip: To keep your crust crunchy, avoid storing the bread in plastic wrap. Instead, use a paper bag or breathable bread box.
Why this method works
- The high water ratio creates a soft and light crumb that stays fresh longer.
- The first rise develops flavor and elasticity, while the second rise builds volume.
- Baking with steam forms a crisp, shiny crust that stays crunchy even after cooling.
- Minimal ingredients mean the flour’s natural flavor shines through.
Pro Tip: For an extra-crispy crust, bake the loaf for the last 5 minutes directly on the oven rack.
Variations and serving ideas
Once you’ve mastered this water bread recipe, you can easily customise it:
- Herb-infused version: Add 1 teaspoon dried rosemary, thyme, or Italian seasoning to the flour before mixing.
- Garlic water bread: Add 1 teaspoon garlic powder to the dough or brush baked slices with garlic butter.
- Cheesy crust: Sprinkle shredded mozzarella or parmesan on top before baking for a delicious twist.
- Whole-wheat blend: Substitute half the flour for whole-wheat to add fibre and depth of flavor.
Serving ideas:
- Warm with butter and sea salt
- Topped with avocado and chili flakes for a light lunch
- As a side with soups, stews, or pasta
- Toasted with honey for a simple breakfast
Nutrition and helpful swaps
Approximate nutrition per slice (1 of 12 slices from a large loaf):
- Calories: 130 kcal
- Carbohydrates: 25 g
- Protein: 4 g
- Fat: 1 g
- Sodium: 210 mg
Healthier swaps:
- Replace white flour with 50% whole-wheat for more fibre.
- Use sea salt instead of table salt for a cleaner flavor.
- Skip the egg wash for a fully vegan loaf.
Pro Tip: Store leftover slices in a paper bag at room temperature for up to 2 days, or freeze them and reheat in the oven when needed.
Common mistakes and how to avoid them
- Adding too much flour: Makes the loaf dense. Keep dough slightly sticky.
- Skipping steam: The crust won’t crisp up. Always bake with a bit of moisture.
- Cutting too soon: Wait at least 10 minutes before slicing or the crumb will collapse.
- Overproofing: Leads to flat bread. Stick to the recommended rise times.
FAQs
Because water is the main liquid used instead of milk or fat, which keeps the bread light, simple, and rustic.
Yeast gives the bread its signature texture, but you can use instant yeast for convenience or try a no-yeast quick bread if short on time.
Yes, it works beautifully in a loaf pan. Just grease it lightly and bake until golden brown.
Keep it in a paper bag at room temperature for 1–2 days, or slice and freeze for up to 2 months. Reheat in the oven at 350 °F (175 °C) for a few minutes to refresh.
Yes, but you’ll need a gluten-free blend designed for yeast baking and possibly extra water since these flours absorb differently.
Final thoughts
This water bread recipe proves that simplicity is the secret to greatness. With just flour, water, yeast, and salt, you can create a loaf that’s crispy, tender, and full of homemade charm. It’s the kind of bread that makes your kitchen smell amazing and your table feel extra cozy.
Whether you’re baking it for Sunday brunch or meal prep for the week, this loaf is versatile, satisfying, and truly foolproof.
So roll up your sleeves, warm up that oven, and let the magic of water bread fill your home. Happy baking! 🍞

12
servings30
minutes40
minutes180
kcalThis simple water bread recipe creates a perfectly crusty loaf with a soft, airy crumb using only a few basic ingredients. It’s light, flavorful, and ideal for everything from sandwiches to soups. No milk, butter, or fancy tools required, just flour, water, yeast, and time.
Ingredients
3 cups warm water (around 100–110 °F / 38–43 °C)
1 tablespoon sugar
2¼ teaspoons (1 packet) active dry yeast or instant yeast
5 cups bread flour (or all-purpose flour)
1 tablespoon salt
1 egg white + 1 tablespoon water (for a glossy crust)
Directions
- Activate the yeast
Pour the warm water into a large bowl. Stir in the sugar and yeast, then let it rest for 10–15 minutes until foamy. This ensures your yeast is alive and ready to help the bread rise. - Form the dough
Add the flour and salt to the yeast mixture. Stir with a wooden spoon until a sticky dough forms, then transfer it to a floured surface. Knead for 8–10 minutes until smooth and elastic. - First rise
Place the dough in a lightly oiled bowl, cover it with a damp towel, and let it rise in a warm place for 1½ to 2 hours or until doubled in size. - Shape the loaf
Punch down the dough to release air. Shape it into an oval or divide it into two smaller loaves. Place them on a parchment-lined baking tray and score the tops with a sharp knife. - Second proof
Cover the dough and let it rise again for 25–30 minutes while you preheat the oven to 400 °F (200 °C). Brush with egg-white wash if desired. - Bake with steam
Place a small dish of hot water on the oven’s bottom rack for steam. Bake on the middle rack for 30–35 minutes until golden brown. Tap the bottom, it should sound hollow. - Cool and serve
Let the bread cool on a wire rack for 10–15 minutes before slicing. Serve warm with butter, olive oil, or your favorite spread.